As an Amazon Associate, 3DPrintedDecor earns from qualifying purchases. Prices were checked on Amazon on November 4, 2026 and change often. 3DPrintedDecor has not tested these printers; the waste figures below come from manufacturer data and the published reviews cited at the end, and we label which is which.
“Zero waste” and “zero purge” are now on the box of almost every multicolor 3D printer. None of them actually produces zero waste. The useful question is how much each one wastes on a real print, where that waste goes, and how much you can cut it.
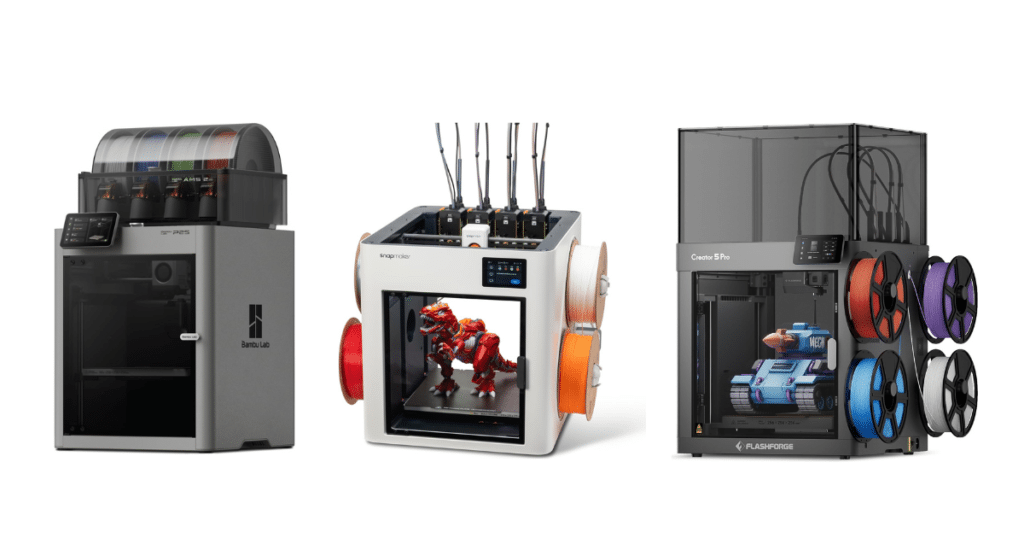
We compared three printers that cost about the same but take very different approaches: the Bambu Lab P2S Combo ($779), a single-nozzle printer that swaps filament and purges on every color change, and two four-toolhead toolchangers, the Snapmaker U1 ($749) and the Flashforge Creator 5 Pro ($799). Here’s what the numbers show.
The short answer
- Toolchangers aren’t zero waste, but they’re close. Independent tests show roughly 75–90% less waste than a single-nozzle printer on the same four-color model.
- What’s left is mostly a prime tower, plus a small purge at the start of each print. With slicer tuning, reviewers cut prime-tower waste by more than half.
- The P2S Combo still makes sense if you mostly print one color, or use color only occasionally. Its waste only becomes a real cost when you print a lot of multicolor models.
- U1 vs Creator 5 Pro: the U1 has auto-loading and a bigger build plate; the Creator 5 Pro has an enclosed, heated chamber for ABS and ASA.
What “Zero Waste” Really Means: The Three Kinds of Waste
Multicolor waste comes from three places. Marketing claims usually talk about the first one only.
- Purge (flushing): on a single-nozzle printer, every color change has to push the old color out of the nozzle before the new one prints cleanly. That’s the “poop” that comes out of a Bambu printer’s chute. This is the big one, and it’s what toolchangers eliminate.
- Prime tower: a small tower printed beside your model. When a toolchanger picks up a nozzle that’s been sitting warm, a little filament has oozed or degraded, so it primes on the tower before printing. Snapmaker’s own FAQ explains that “zero purge” refers to eliminating flushing, not the prime tower. Single-nozzle printers often print one too.
- Startup purge: most printers purge each nozzle that will be used once at the start of a print. On a toolchanger, that’s one purge per toolhead per print, not per color change.
| Waste type | Bambu P2S Combo | Snapmaker U1 | Creator 5 Pro |
|---|---|---|---|
| Purge on every color change | Yes | No | No |
| Prime tower | Usually | Yes, by default | Yes, by default |
| Startup purge | Yes | Yes | Yes, dropped inside the chamber |
| Can prime into infill instead | Yes (flush into infill) | Partly, depends on model | Yes, if the model has enough infill |
The Three Printers
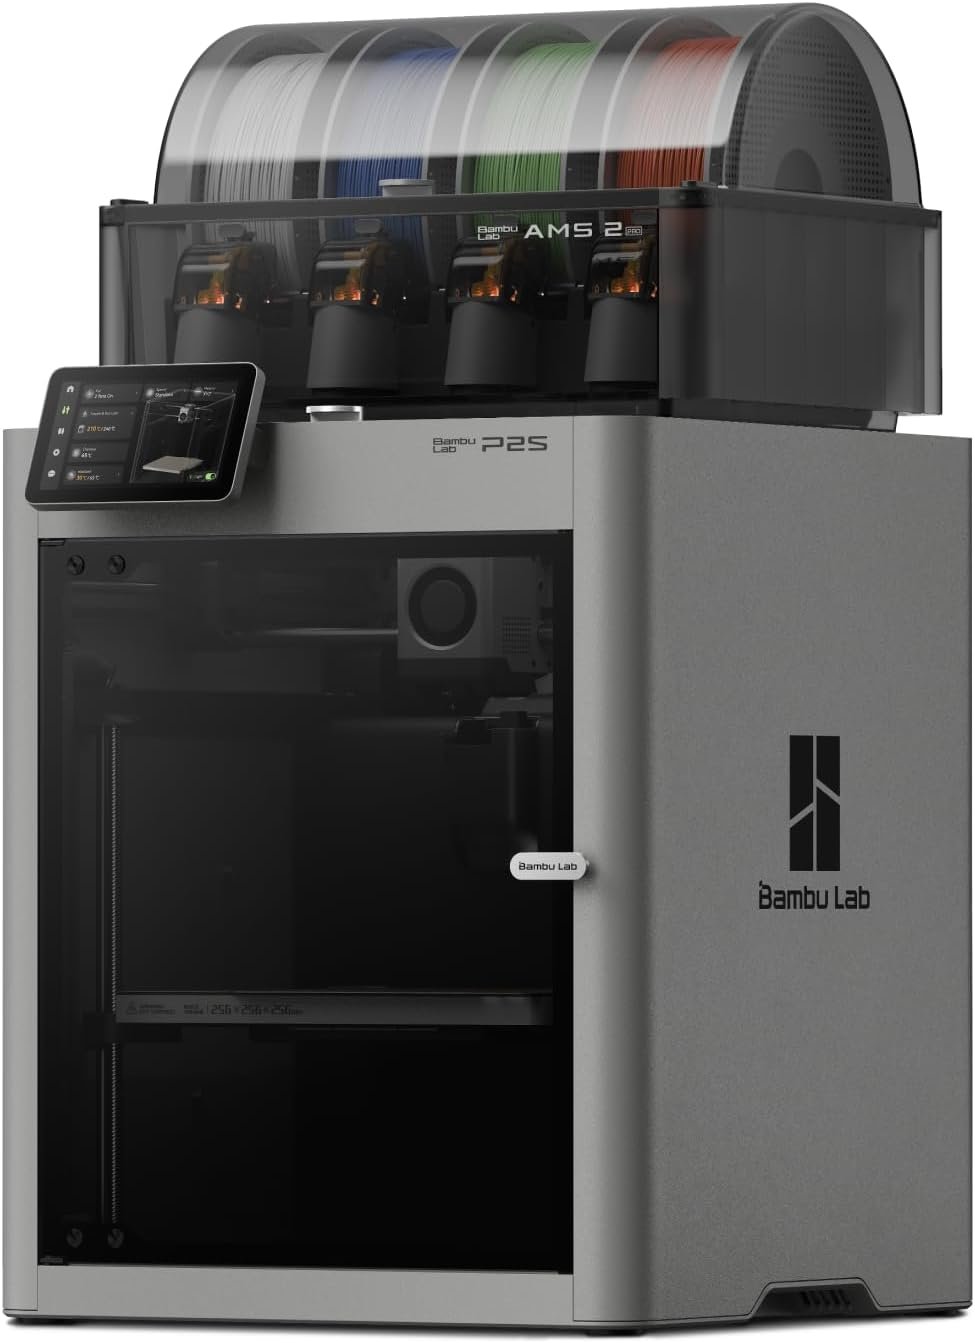
Bambu Lab P2S Combo
An enclosed printer with Bambu’s four-spool AMS 2 Pro, which also dries filament. It’s the most polished of the three to use, with the best camera, RFID filament detection and the MakerWorld library. But it has one nozzle, so every color change means a full purge.
- Easiest software and setup
- Built-in filament drying
- Expands to more colors with more AMS units
- Purges on every color change
- Much slower on multicolor prints
- 256 mm build volume

Snapmaker U1
Four complete toolheads, each with its own nozzle and filament, swapped in about 5 seconds by Snapmaker’s figure, or about 10 seconds including priming in Tom’s Hardware’s testing. It auto-loads filament, reads RFID tags on Snapmaker spools, and has the largest build volume here at 270 mm per side.
- No purging between colors
- Auto filament loading
- Largest build volume of the three
- No heated chamber; open top without the optional cover
- No filament drying
- Four colors maximum
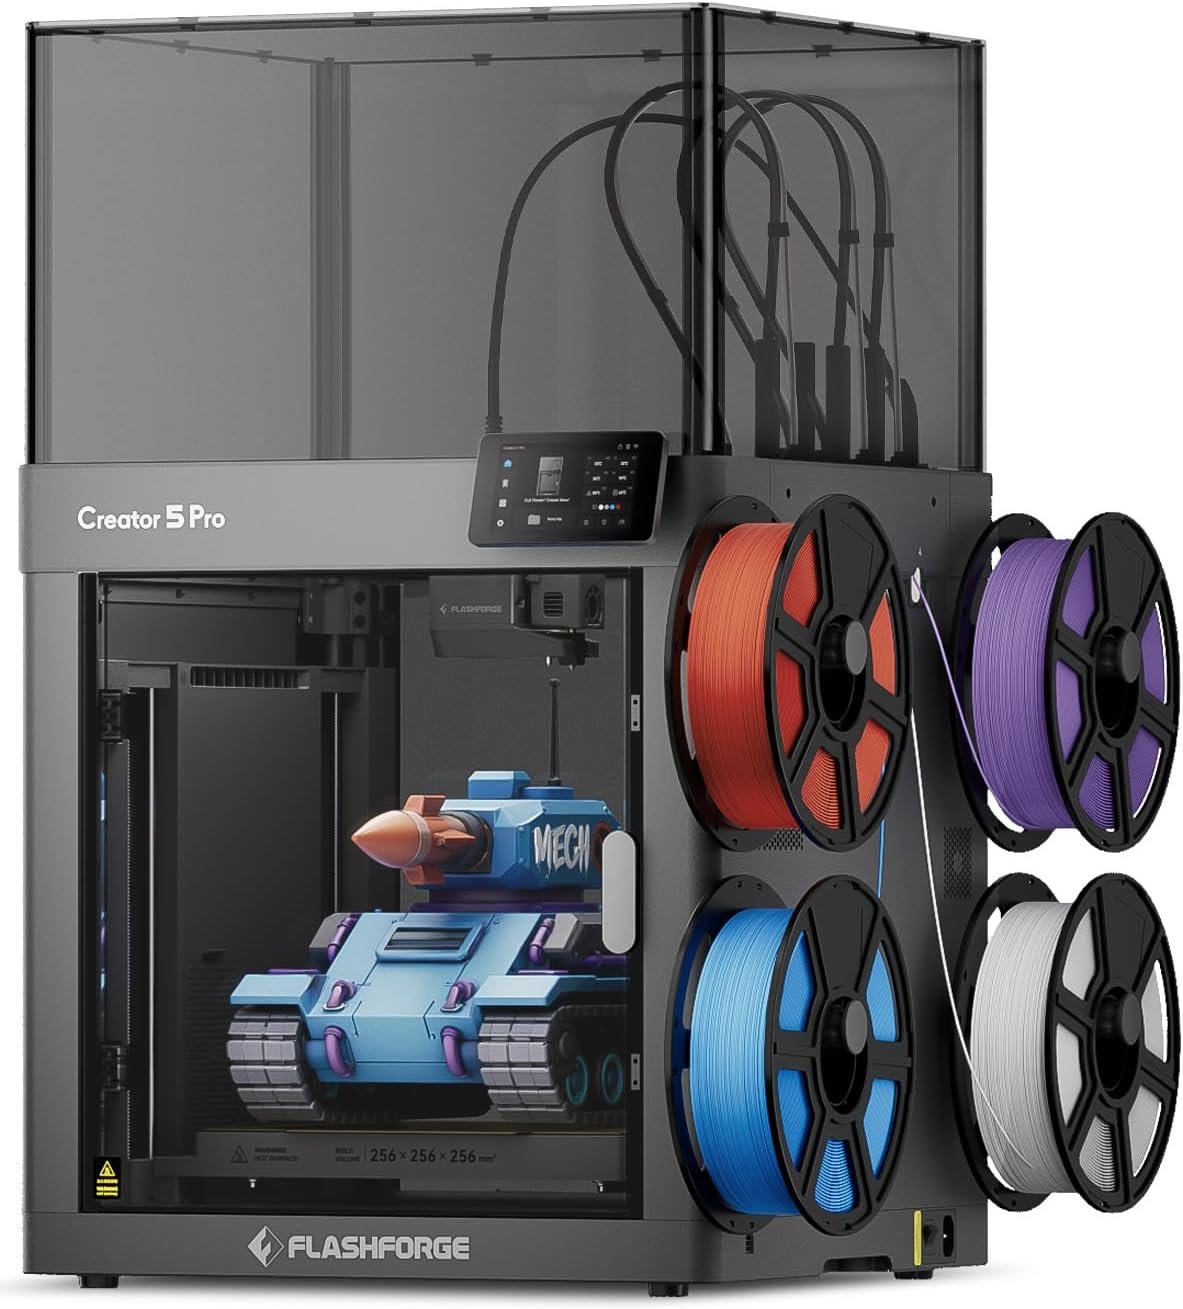
Flashforge Creator 5 Pro
Also four toolheads, but fully enclosed with an actively heated 65 °C chamber and HEPA plus carbon filtration, so ABS and ASA print easily. The trade-offs are manual filament loading with no RFID, a slow startup routine, and a startup purge that drops inside the machine.
- No purging between colors
- Heated chamber for ABS, ASA, nylon
- Very low waste after tuning
- Manual filament loading
- Long print preparation
- Weak camera; no filament drying
The Numbers: How Much Each One Actually Wastes
We pulled every measured comparison we could find. Note which figures were actually printed and weighed, and which are slicer estimates or manufacturer claims.
| Test print | Single-nozzle printer | Toolchanger | Type of figure |
|---|---|---|---|
| 4-color raccoon figure, 0.2 mm layers | 656.6 g waste, 51 h 17 m (Bambu P1S, slicer estimate) | 100.6 g, 17 h actual (Creator 5 Pro) | Anton Månsson review; Bambu side calculated, not printed |
| Same figure, 0.12 mm layers | 1,010 g, 78 h 13 m (estimate) | 151 g, 28 h 12 m (Creator 5 Pro, estimate) | Anton Månsson review, slicer estimates |
| 4-color Benchy, default settings | Over 18 h (Bambu single-nozzle estimate) | 36 g of waste for a 16 g boat (Creator 5 Pro) | Notebookcheck review, printed |
| Same Benchy, tuned prime tower | — | 8 g, 3 h 41 m (Creator 5 Pro) | Notebookcheck review, printed |
| Multicolor Gengar figure | About 0.5 kg waste, 90 h (Bambu P1S) | Mostly a small prime tower, 27 h (Snapmaker U1) | Six-month owner review of the U1 |
| 4-color dragon figure | 309.75 g, 21 h 29 m | 80.68 g, 6 h 58 m (Snapmaker U1) | Snapmaker’s own figures; comparison printer not named |
Most single-nozzle comparisons used the older P1S. The P2S Combo’s AMS 2 Pro is a newer design, but it still purges on every color change, so the gap will be similar.
Three things the numbers tell us
- “Zero” is really 75–90% less. Across tests, toolchangers cut waste by roughly that much on four-color prints. That’s a huge improvement, but the prime tower is real, and the Notebookcheck Benchy shows that default settings can waste more than double the model’s own weight.
- Default settings are wasteful. The same Creator 5 Pro Benchy went from 36 g to 8 g of waste with prime-tower tuning, with no visible loss in quality, according to Notebookcheck.
- Time savings are as big as filament savings. Three times faster was typical in these tests. On a single-nozzle printer, a multicolor print that takes days can take less than one on a toolchanger.
How Long Each Color Change Really Takes
| Printer | Advertised | Measured by reviewers |
|---|---|---|
| Bambu P2S Combo | Bambu says its faster feeder saves about 10 minutes per 100 filament changes versus its older system | Single-nozzle changes with full purge take about 60–90 seconds, by Anton Månsson’s estimate for AMS-style printers |
| Snapmaker U1 | About 5 seconds | About 10 seconds including nozzle priming (Tom’s Hardware) |
| Creator 5 Pro | “Up to 500% faster” multicolor printing | About 22 seconds from one color to the next, including the prime tower (Anton Månsson) |
Every color change multiplies this. A model with 1,500 color changes, like the raccoon above, is where a single-nozzle printer’s purge time turns into days.
Where the Waste Hides
- P2S Combo: purge goes out the back through a chute, plus any prime tower. Easy to see and collect, but it adds up fast.
- Snapmaker U1: mostly the prime tower. Some owners shrink or skip it, but parked nozzles can ooze, and skipping the tower risks small blobs on the print.
- Creator 5 Pro: both reviewers we read noted that its startup purge drops inside the build chamber, under the bed, rather than into a chute or bin. It doesn’t land on your print, but you’ll need to clean it out, and community-made purge bins exist to catch it. Notebookcheck also noted it has no automatic nozzle wiper.
What the Waste Actually Costs You
At typical PLA prices of $15 to $25 per kilogram, here’s what the raccoon test means in money:
| Scenario | Waste saved per print | Money saved per print (PLA) |
|---|---|---|
| 4-color figure, 0.2 mm (raccoon test) | About 556 g | About $8 to $14 |
| Same figure, 0.12 mm | About 859 g | About $13 to $21 |
| Small 4-color Benchy, tuned | A few dozen grams | Under $1 |
Calculations are ours, based on the reviewers’ figures. Savings rise with pricier filaments like TPU or carbon-fiber blends.
What this means for you: if you print a couple of small multicolor models a month, a toolchanger won’t pay for itself in filament. If you print large multicolor figures weekly, or sell prints, the savings in filament and printer time are real. A toolchanger can turn out two to three times as many multicolor prints in the same time.
How to Cut Multicolor Waste on Any of These Printers
On the toolchangers (U1 and Creator 5 Pro)
- Shrink the prime tower. Reducing its size and prime volume in the slicer is the single biggest saving. Notebookcheck’s Benchy went from 36 g to 8 g this way.
- Prime into infill when the model has enough of it. It worked in the Benchy’s hull, but not in the cabin, which had too little infill.
- Keep filament dry. Wet filament oozes more from parked nozzles and prints poorly. Neither toolchanger dries filament (see below).
On the P2S Combo
- Use flush into infill and flush into supports in Bambu Studio, so purged filament becomes part of the print instead of waste.
- Print several copies at once. Color changes happen per layer, not per object, so batching spreads each purge over more parts.
- Lower flushing volumes carefully for similar colors, like light to slightly darker shades. Changes from dark to light colors still need more purge.
- Design for fewer changes. Prints where colors are stacked by height, rather than mixed in every layer, need far fewer swaps.
Don’t Skip Filament Drying
The P2S Combo’s AMS 2 Pro dries filament built in. The U1 and Creator 5 Pro don’t, and both are typically fed from four spools at once. Damp filament strings, oozes from parked nozzles and wastes more on the prime tower. Notebookcheck’s undried TPU test print came out poorly, while dried TPU printed fine.
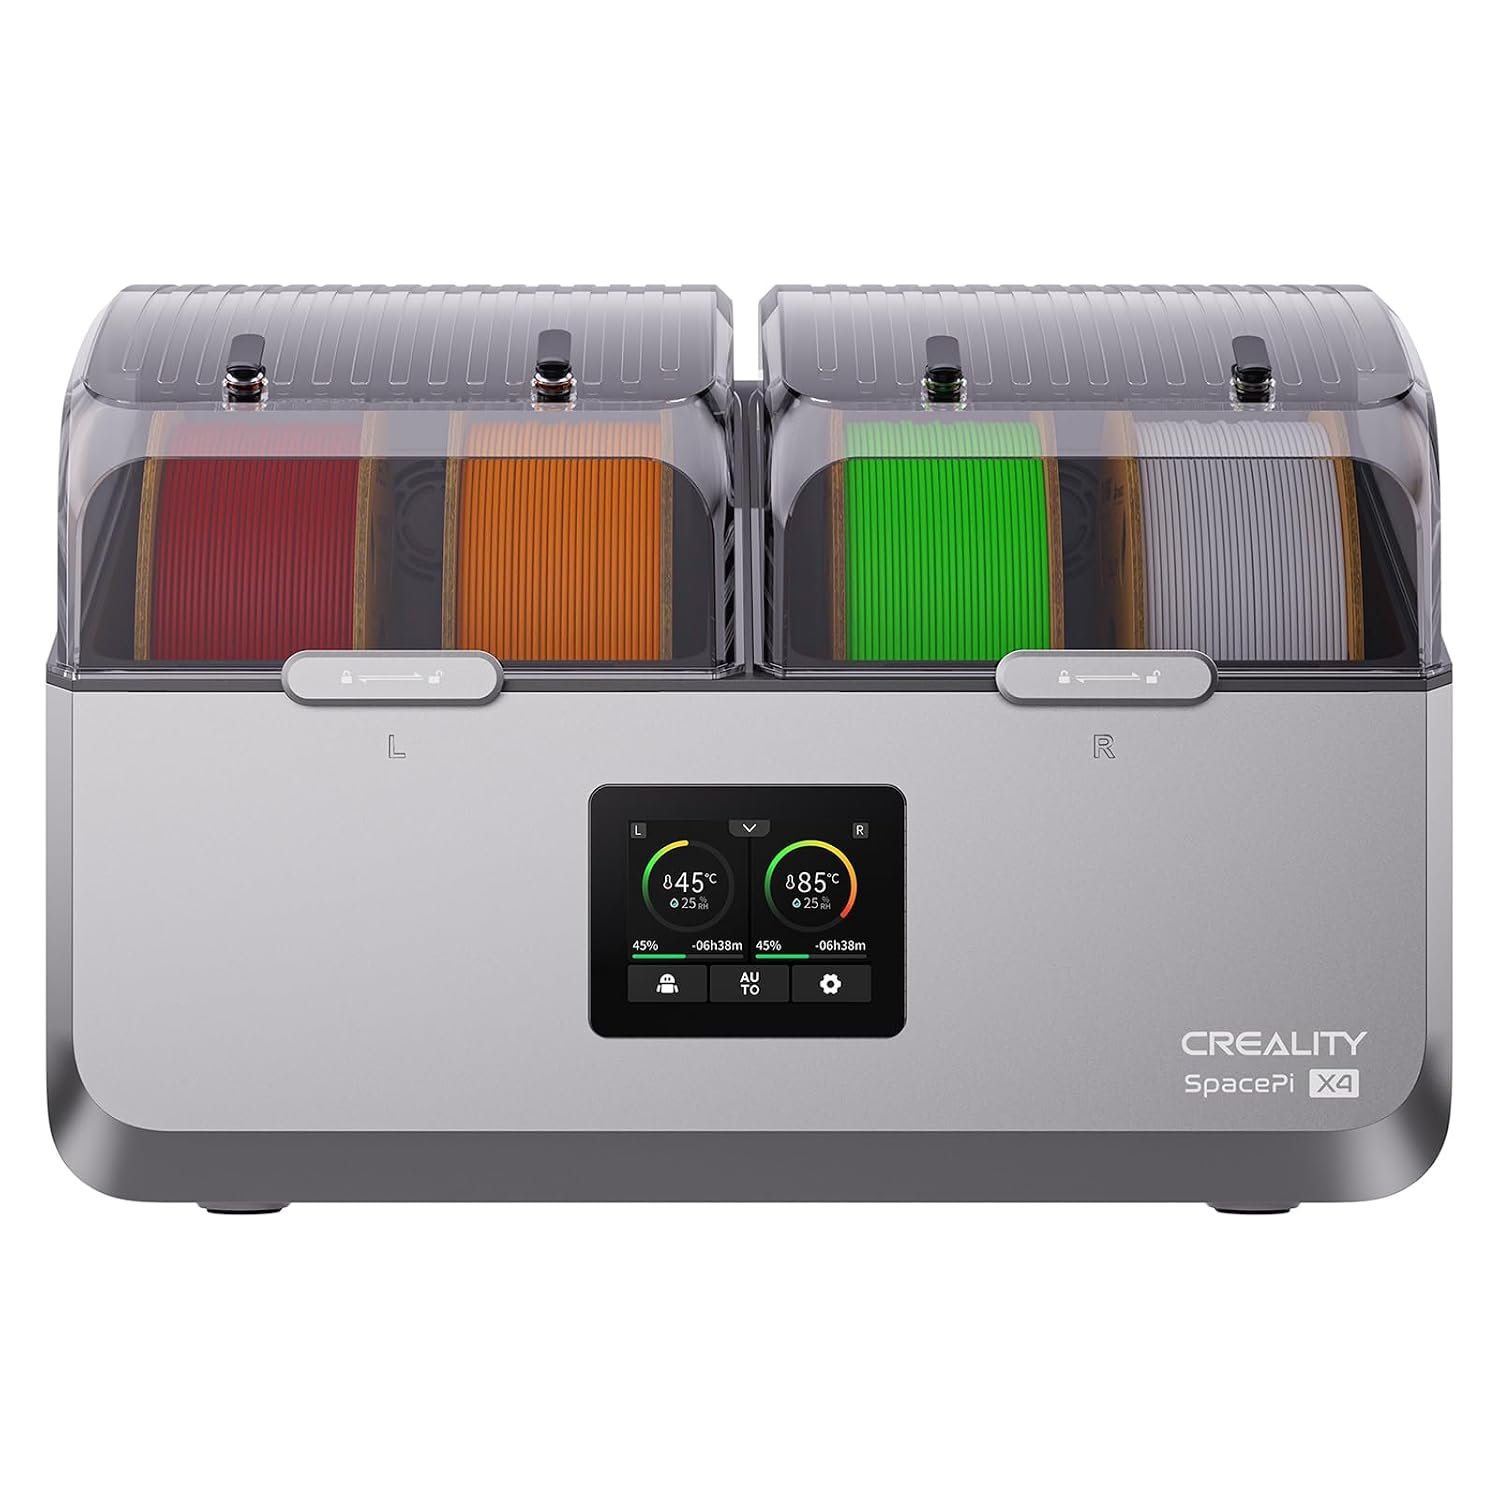
Creality Space Pi X4 Filament Dryer
Holds four spools in two heating chambers and heats up to 85 °C, so it covers every spool on a U1 or Creator 5 Pro at once, and you can print directly from it. Anton Månsson used this dryer with his Creator 5 Pro during testing, since Flashforge’s own dryer wasn’t available.
Check price on AmazonFor more, see our guide on how to store 3D printer filament.
Specs Side by Side
| Spec | Bambu P2S Combo | Snapmaker U1 | Creator 5 Pro |
|---|---|---|---|
| Price (Amazon, Nov 4) | $779 | $749 | $799 |
| Multicolor method | 1 nozzle + 4-spool AMS 2 Pro | 4 toolheads | 4 toolheads |
| Purge on color change | Yes | No | No |
| Max colors | 4, more with extra AMS units | 4 | 4 |
| Build volume | 256 × 256 × 256 mm | 270 × 270 × 270 mm | 256 × 256 × 256 mm |
| Enclosure | Enclosed | Open top (cover optional) | Enclosed, heated to 65 °C |
| Nozzles and temperatures | Hardened steel nozzle and gears | Stainless steel; nozzle 300 °C, bed 100 °C | Nozzle 320 °C, bed 120 °C |
| Filtration | Not a headline feature | Optional cover | HEPA13 + activated carbon |
| Filament loading | Automatic, RFID | Automatic, RFID (Snapmaker spools) | Manual, no RFID |
| Filament drying | Built into AMS 2 Pro | No | No |
| Slicer | Bambu Studio, OrcaSlicer | Snapmaker Orca, OrcaSlicer | Flash Studio, OrcaSlicer |
| Weight | About 16 kg (Combo) | 18.2 kg | 18 kg |
Which One Should You Buy?
P2S Combo if…
- You mostly print one color.
- Multicolor is an occasional extra.
- You want the easiest software and MakerWorld.
- You want filament drying built in.
Snapmaker U1 if…
- You print multicolor PLA, PETG or TPU often.
- You want auto-loading and less fiddling.
- You want the biggest build plate here.
- You don’t need ABS or ASA.
Creator 5 Pro if…
- You want multicolor and ABS or ASA.
- You combine materials, like TPU with rigid plastic.
- You don’t mind loading filament by hand.
- Indoor air filtration matters to you.
Frequently Asked Questions
Are “zero waste” 3D printers really zero waste?
No. Toolchangers like the Snapmaker U1 and Flashforge Creator 5 Pro eliminate purging between colors, but still print a prime tower and purge once at the start of each print. In published tests, they produced roughly 75–90% less waste than a single-nozzle printer on the same four-color model.
How much filament does a Bambu AMS waste?
It depends on how many color changes the print has. On a four-color figure with about 1,500 changes, Bambu Studio estimated 656.6 g of waste on a P1S, compared with 100.6 g on the Creator 5 Pro. Settings like flush into infill and printing several copies at once can reduce it.
What is a prime tower, and can I turn it off?
It’s a small tower printed beside your model, where a nozzle primes before printing a new color. You can shrink it a lot in the slicer, and sometimes prime into the model’s infill instead. Skipping it entirely can leave blobs on the print from oozing nozzles.
Snapmaker U1 or Flashforge Creator 5 Pro?
Choose the U1 for automatic filament loading and a larger 270 mm build volume. Choose the Creator 5 Pro if you want an enclosed, heated chamber for ABS and ASA. Both have four toolheads and very low waste.
Is a toolchanger worth it over the P2S Combo?
If you print multicolor models often, yes: tests show about three times faster prints and hundreds of grams less waste on large models. If you mostly print one color, the P2S Combo’s easier software and built-in drying make it the better buy.
Do I need a filament dryer for a toolchanger?
It’s strongly recommended. The U1 and Creator 5 Pro don’t dry filament, and damp filament oozes more and prints poorly. A four-spool dryer like the Creality Space Pi X4 covers all four toolheads.
Sources
- Anton Månsson: Flashforge Creator 5 Pro review, measured waste
- Notebookcheck: Flashforge Creator 5 Pro tested
- Snapmaker Forum: U1 official FAQ on prime towers and “zero purge”
- Snapmaker: U1 product page and waste comparisons
- Tom’s Hardware: Snapmaker U1 review
- 3DPrint.com: Snapmaker U1 review
- Irish Examiner: Snapmaker U1 review
Published November 4, 2026. Prices checked on Amazon on November 4, 2026. 3DPrintedDecor has not tested these printers; all waste and time figures are from the sources above, and cost calculations are our own.
Free 3D printing temperature cheat sheet
Nozzle and bed temperatures for common filaments, in one page.
Keep reading
 ComparisonsFlashforge Creator 5 Pro vs Snapmaker U1: Which Four-Toolhead Printer Should You Buy in 2026?Oct 25, 2026
 ComparisonsFlashforge Creator 5 vs Creator 5 Pro: What Does the Extra $150 Actually Buy?Oct 26, 2026
 ComparisonsBambu Lab H3C vs H2C vs Snapmaker U1: Which Multicolor 3D Printer Should You Buy?Nov 4, 2026
 ComparisonsCreality K1 SE vs Creality K1C 3D Printer: Which One Is BetterJan 1, 2025
 ComparisonsCreality K2 Plus Combo vs Anycubic Kobra 3 Combo Review: Battle of the Multi-Color 3D PrintersMar 23, 2025
 ComparisonsKobra S1 Combo vs K1C: Best Sub-$700 Printer? (Tested)Apr 4, 2025