
Why Post-Processing Matters
Post-processing is critical for removing layer lines and support marks, enhancing durability and aesthetics, preparing models for painting or functional use, and reducing stress points in structural parts. A print that looks mediocre straight off the bed can become display-worthy with the right tools — and the good news is you don’t need to spend a fortune to get there.
Related: Best 10 Post-Processing Tools for Polishing 3D-Printed Decor | 3D Printing Safety Gear Must-Haves
Subtractive Methods: Removing Material for Smoothness
Trimming & Cutting
What It Does
Removes support structures, strings, and blobs cleanly before any finishing work begins. Getting this right determines how much sanding you’ll need to do later.
Pro Tips
- Use a heated knife for cleaner cuts on PLA — cold blades drag and tear.
- Sand connection points after trimming to avoid bumps before priming.
- For resin, always wear nitrile gloves — uncured resin is a skin sensitizer.
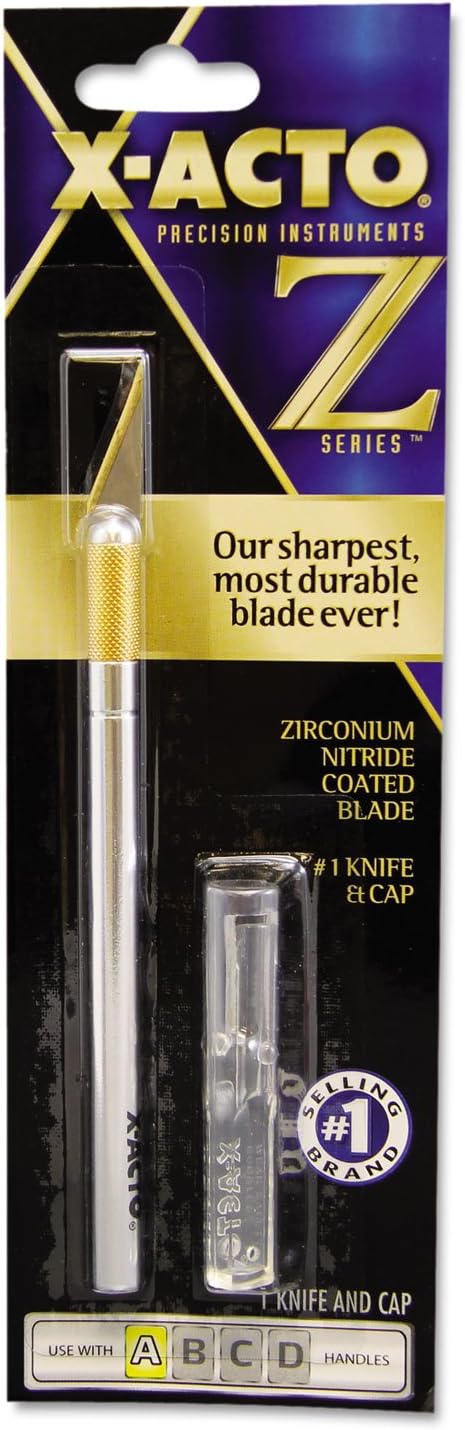
X-ACTO #1 Z-Series Precision Utility Knife
The Z-Series is the go-to precision knife for 3D printing cleanup. The aluminum handle gives you fine control when trimming support nubs on intricate models — something bulkier cutters can’t match. At under $7 with a safety cap included, it’s the first tool every printer owner should own.
Pros
- Fine control for tight support areas
- Safety cap for safe storage
- Replacement blades widely available
- Under $7 — no-brainer purchase
Cons
- Blades dull quickly on PETG
- Not ideal for heavy bulk removal
Sanding & Polishing
What It Does
Erases layer lines and refines surfaces. This is the backbone of FDM post-processing — almost every finished print goes through some form of sanding.
Step-by-Step Sanding Sequence
- 1Coarse Grit (100–220): Remove major imperfections, visible layer lines, and support marks.
- 2Medium Grit (400–600): Smooth uneven areas, remove scratches left by coarse grit.
- 3Fine Grit (800–2000): Prep surface for priming or painting. Wet sand for best results.
- 4Polishing: Use Novus Plastic Polish for a glossy, scratch-free final surface.
Material Tips: PLA — avoid power sanders (melts easily with heat). Resin — wet-sand with 1000+ grit for near-mirror finishes. PETG — use light pressure at all grits to avoid gumming.

NOVUS Plastic Clean & Shine 3-Pack — Fine, Heavy Scratch + Polish Mates
The Novus 3-pack (Clean & Shine #1 + Fine Scratch Remover #2 + Heavy Scratch Remover #3) is the standard finishing system for resin prints and polished FDM parts. Apply #3 first for deep scratches, then #2 for fine surface haze, then #1 for a final glossy buff. The result on sanded resin can look genuinely glass-like.
Pros
- Three-stage system for professional results
- 8oz bottles — extensive use per purchase
- Works on acrylic, resin, and polished PLA
- Non-abrasive final coat (#1) safe for clear prints
Cons
- Won’t replace sanding on heavily layered FDM prints
- Takes time — each stage requires buffing
Vapor Smoothing
What It Does
Solvent vapors melt the outermost surface layer of the print, producing a smooth, glossy finish without any sanding. Best for ABS, ASA, and Nylon — PLA requires ethyl acetate instead of acetone.
Methods
- DIY Chamber: Glass jar with acetone-soaked paper towels on the bottom, print suspended above. Works for small ABS parts.
- Professional System: Polymaker Polysher — sealed chamber, isopropyl alcohol mist, safer and more consistent. View on Polymaker’s site →
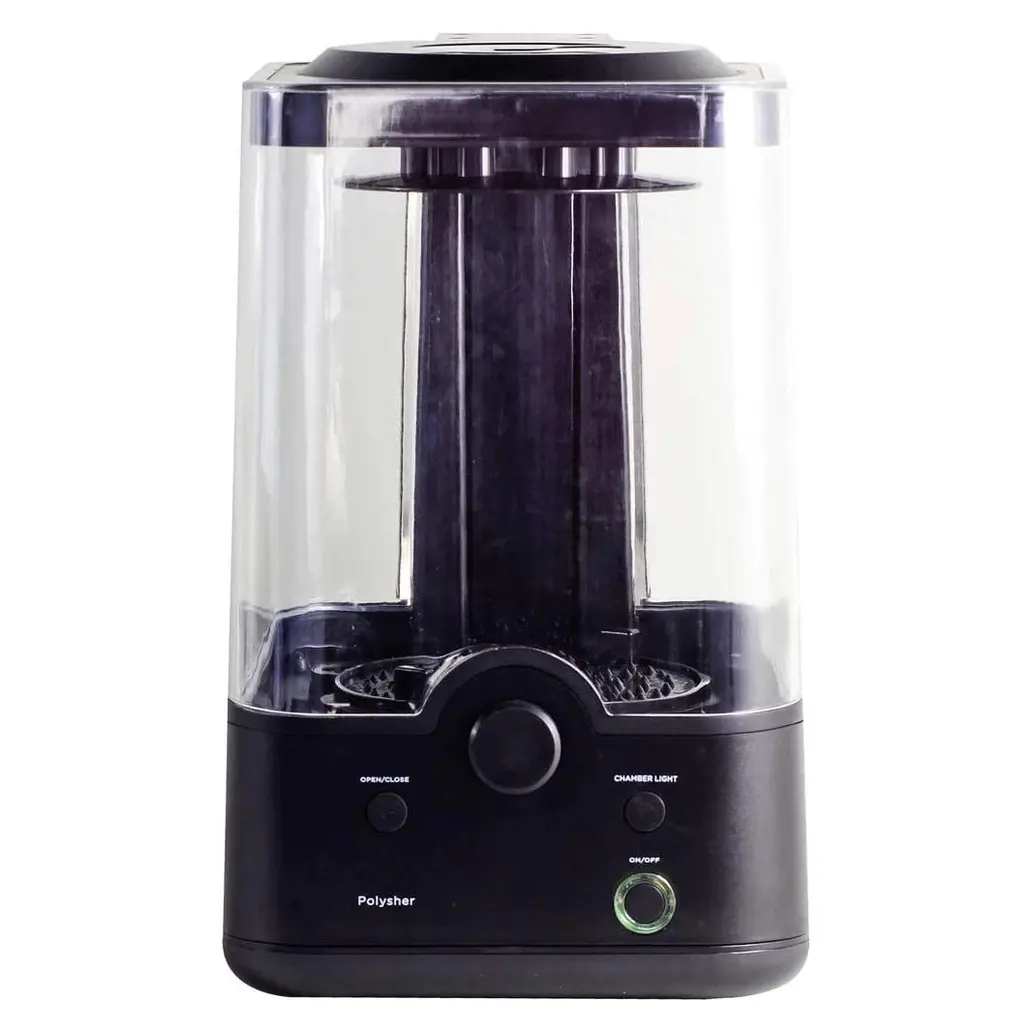
Polymaker Polysher — Desktop Vapor Smoothing Station
The Polysher is the only purpose-built desktop vapor smoothing unit. It uses Polymaker’s Layer-Free™ technology to create a fine mist of isopropyl alcohol inside a sealed chamber, evenly smoothing PolySmooth and PolyCast prints to a glossy, layer-free finish. Far safer than DIY acetone chambers — no open solvent, no flammable vapors loose in the air — and produces more consistent results than any DIY method.
Pros
- Sealed chamber — no open solvent exposure
- Uses IPA, not acetone — safer indoors
- Consistent, even smoothing every time
- No DIY setup — plug and run
Cons
- Requires PolySmooth or PolyCast filament specifically
- Higher upfront cost than DIY jar method
Safety: Always perform acetone vapor smoothing in a well-ventilated area away from open flames. Acetone is highly flammable. The Polysher uses isopropyl alcohol — safer, and it works inside without dedicated ventilation.
Sandblasting (Abrasive Blasting)
What It Does
Creates uniform matte finishes on metals, resins, and tough plastics. Ideal for industrial parts or models with minimal fine detail where you want consistent texture across the whole surface quickly.
Media Options
- Glass beads: Soft, produces a smooth satin finish — good for resin and PLA.
- Aluminum oxide: More aggressive — for PETG, ABS, or metal-filled filaments.
- Walnut shells / soda: Very soft — safe for detailed resin prints without eroding fine features.
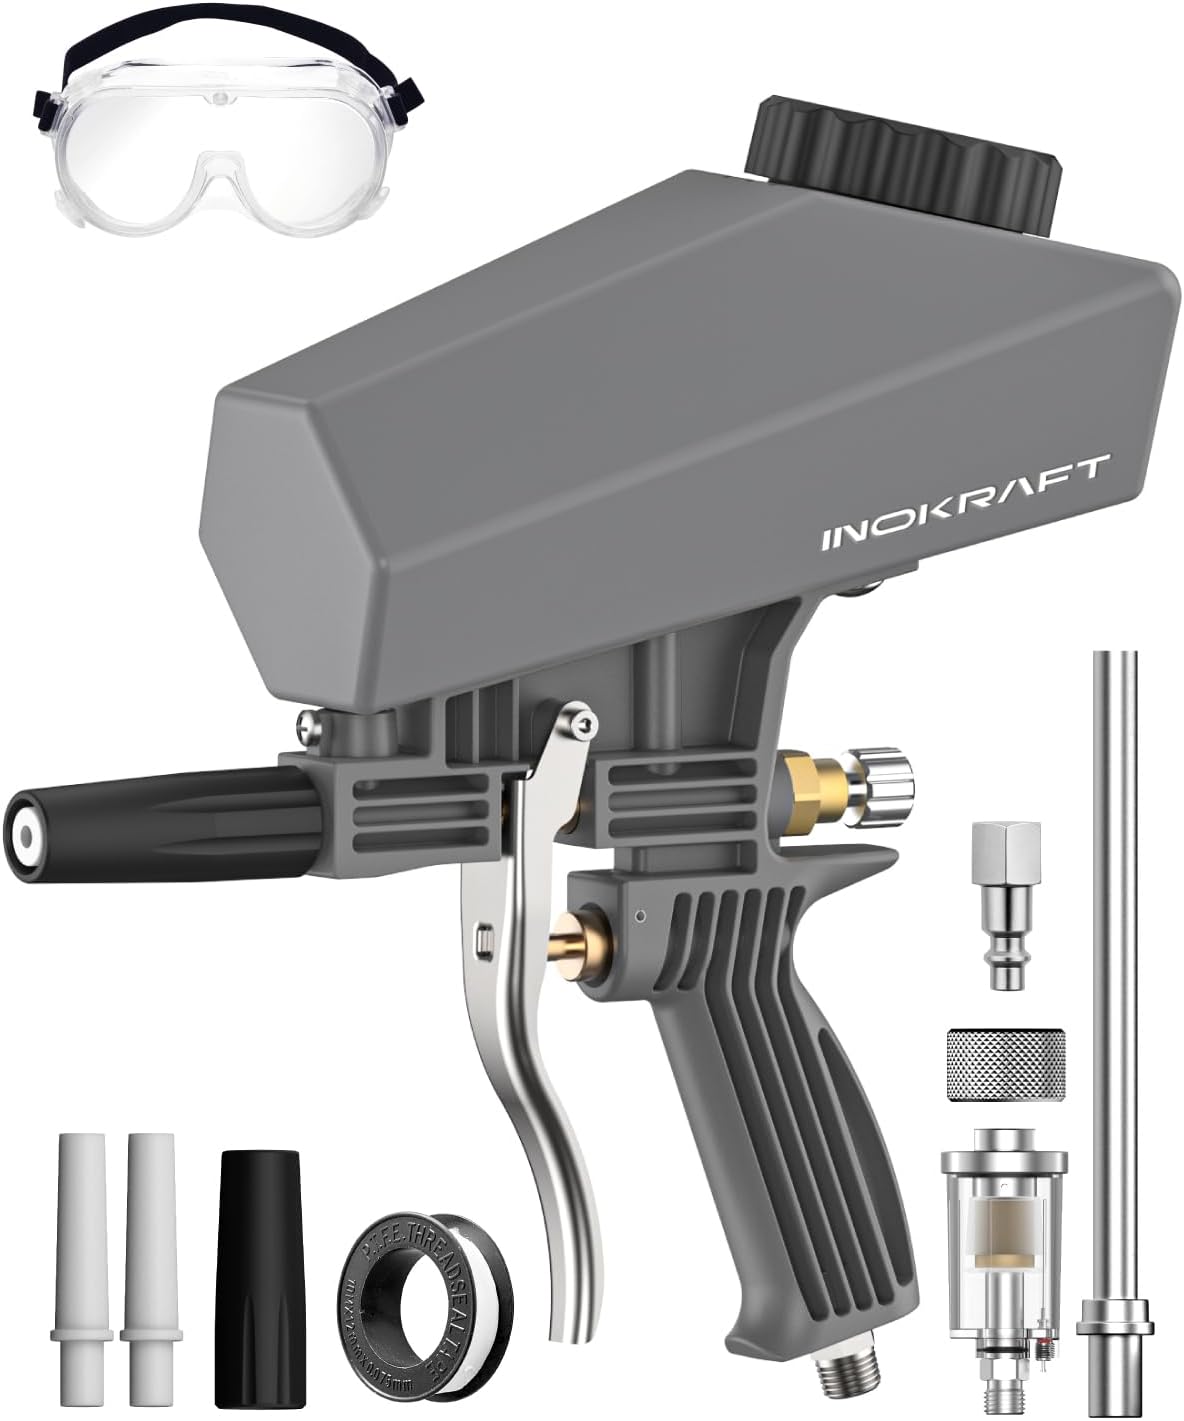
Inokraft Portable Sand Blaster Gun Kit — Oil-Water Separator
A compact, portable sandblaster that works with aluminum oxide, glass beads, walnut shells, and soda. The built-in oil-water separator keeps moisture out of the blast media — critical for consistent results on resin and metal prints. Compatible with most home compressors, and the extension nozzle reaches into tight areas on larger models.
Pros
- Works with 4 media types — versatile for all materials
- Built-in oil-water separator for clean, consistent blasting
- Portable — no fixed installation needed
- Extension nozzle for hard-to-reach areas
Cons
- Requires an air compressor (not included)
- Overkill for small PLA hobby prints
Tumbling
Smooths small parts using rotational friction. Ideal for batch-processing miniatures, jewelry models, or D&D figures where sanding each piece individually would take hours. Use ceramic cones for PLA, walnut shells for delicate resins. Related: 35 Super Useful 3D Printing Tools.
Additive Methods: Enhancing Surfaces with New Layers
Filling Gaps & Imperfections
Use Bondo Spot Putty for fast-drying small cracks, epoxy resin for structural repairs, or wood filler for affordable sandable gap filling. Apply with a putty knife, let cure fully, then sand smooth before priming.
Priming
Why Prime?
Primer creates a uniform base for paint, hides micro layer lines that sanding missed, and gives topcoats something to grip. For display-quality prints, skipping the primer is the single biggest mistake beginners make.
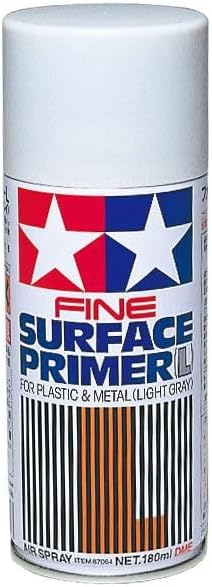
Tamiya Gray Fine Surface Primer L — 180ml Spray
Tamiya’s Fine Surface Primer is the standard primer for miniatures and display models. The ultra-fine formula reveals surface imperfections without adding visible texture of its own — so you can see exactly what needs another sanding pass before committing to topcoats. Dries in 30 minutes, sands easily to a near-perfect base.
Pros
- Ultra-fine formula — no visible spray texture
- Reveals imperfections clearly before topcoating
- Dries in 30 minutes, sandable in 1 hour
- Excellent adhesion to PLA, resin, and ABS
Cons
- Small can — 180ml goes fast on large prints
- Gray only — no filler capacity for deep gaps
Coating & Sealing
Brush-on resin adds waterproofing and shine. Spray varnish protects painted surfaces from UV damage. Powder coating is for metal prints and requires a curing oven.
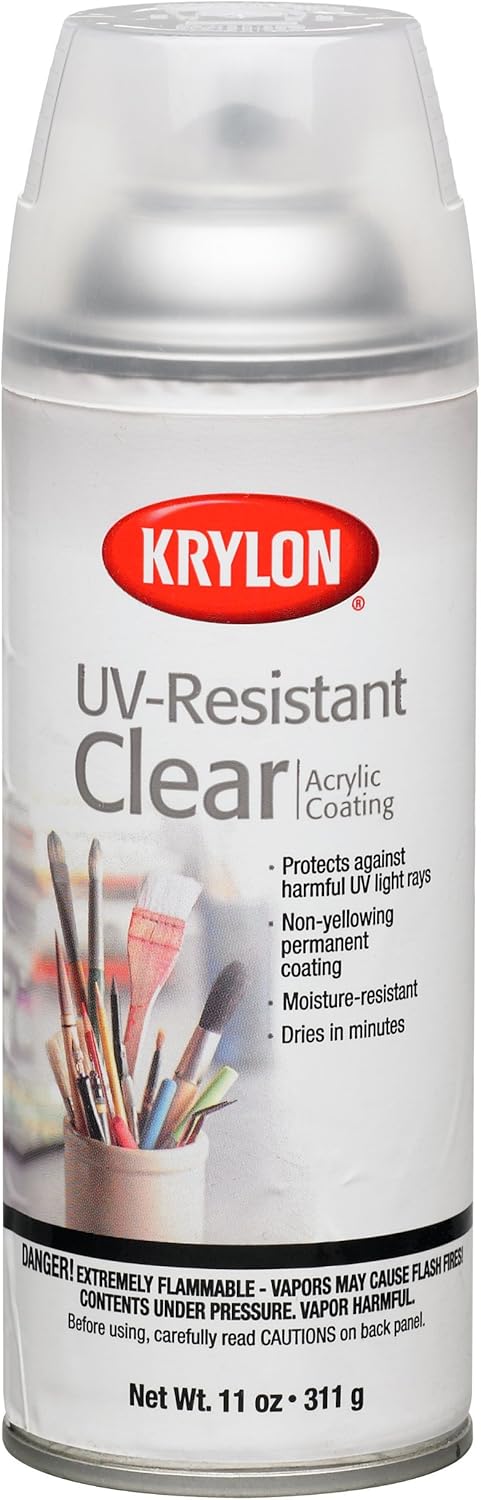
Krylon UV-Resistant Clear Gloss — 11oz Aerosol
This is the spray varnish I use on every painted print before display. The UV-resistant formula prevents yellowing and color fading on painted PLA — a major issue with unprotected prints left near windows. Dries tack-free in under an hour and builds a durable, flexible clear coat that won’t crack as the print flexes slightly over time.
Pros
- UV-resistant — prevents yellowing and fading
- Crystal clear gloss — no cloudiness
- Fast dry — tack-free in under 1 hour
- Works on resin, PLA, ABS, painted surfaces
Cons
- Gloss only — no matte option in this version
- Needs good ventilation during application
Foiling & Vinyl Wrapping
Best for cosplay props or automotive replica parts. Clean the model with isopropyl alcohol first, apply heat with a heat gun to stretch vinyl over curves, and trim excess with a precision blade. Related: Best Laser Cutters for 3D Print Post-Processing.
Metal Plating & Electroplating
Adds conductive, corrosion-resistant metal layers. Electroless plating applies copper or nickel via a chemical bath first; then electroplating submerges the part in a metal-ion solution with an electric current. Works reliably with ABS and PLA after applying a conductive coating.
Property-Changing Methods: Altering Material Structure
Heat Gun Melting
Fixes stringing and blends layer lines on PLA and PETG. Keep the gun 2–3 inches away to avoid warping, and use a silicone brush to gently reshape melted areas while warm.
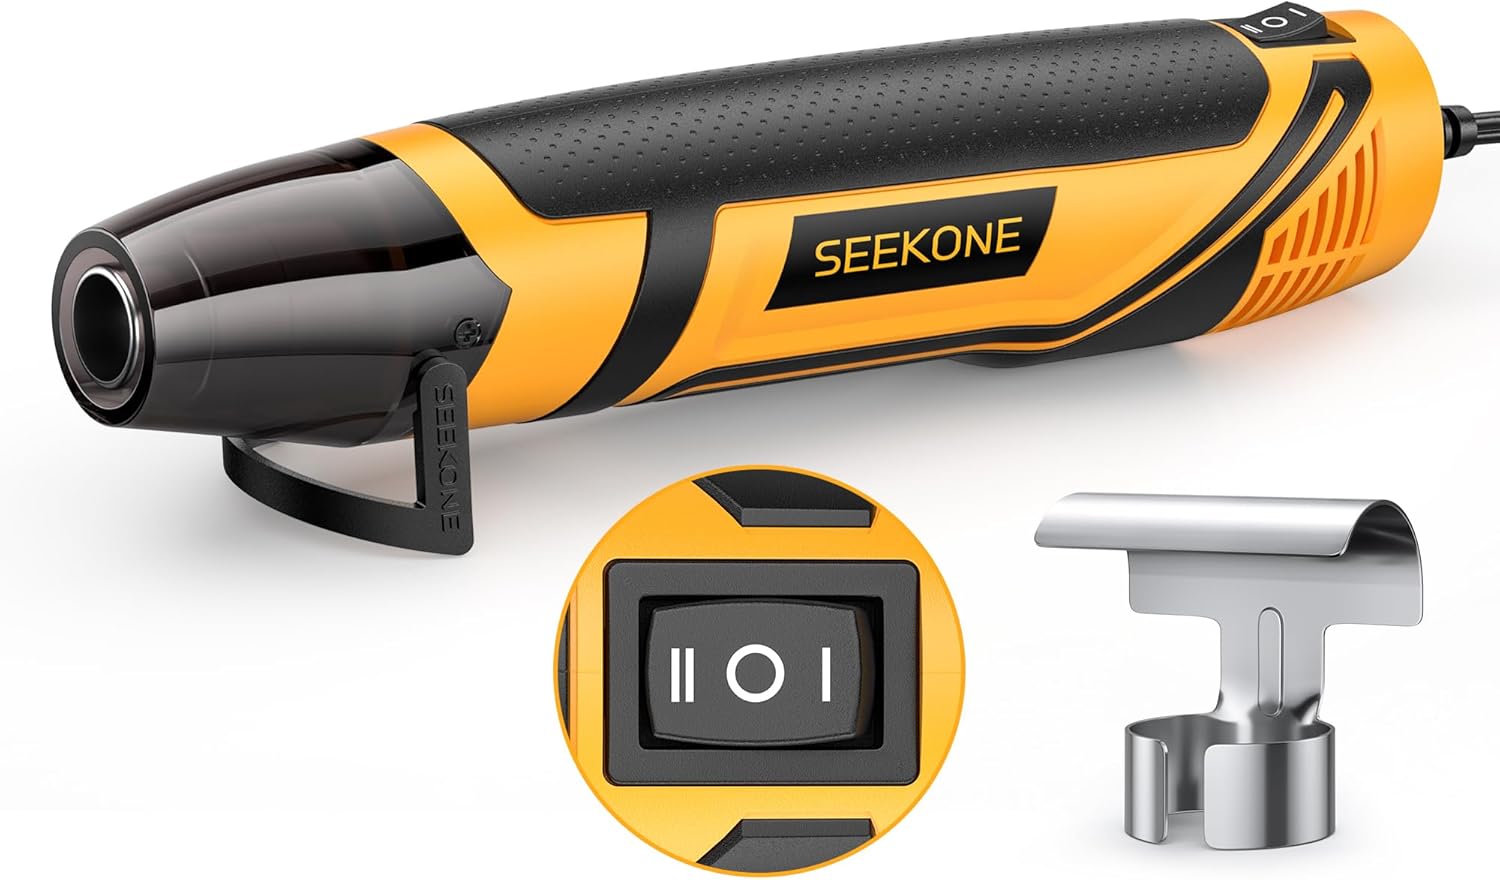
SEEKONE Mini Heat Gun — 350W, 2-Temp Settings
At 350W with two temperature settings (500°F / 842°F), the SEEKONE Mini is ideal for 3D printing post-processing. The lower setting handles PLA stringing and light layer blending without warping; the higher setting works for PETG and vinyl wrapping cosplay props. The 4.9ft cord keeps you mobile around large prints, and overload protection makes it safe for extended sessions.
Pros
- 2 temp settings — safe for PLA and PETG
- Compact size for precise control around details
- 4.9ft cord for good reach
- Under $17 — excellent value
Cons
- Only 2 settings — no variable dial
- Can warp thin PLA walls on the high setting
Annealing
What It Does
Reduces internal stress in PLA, Nylon, and PC prints, increasing heat resistance and structural strength. Parts that warp or crack under moderate heat often survive perfectly after annealing.
How-To
- Preheat oven to 160–200°F (always below the material’s softening point).
- Place print on a flat surface and bake for 30–60 minutes.
- Allow to cool slowly inside the oven — rapid cooling can introduce new stress.
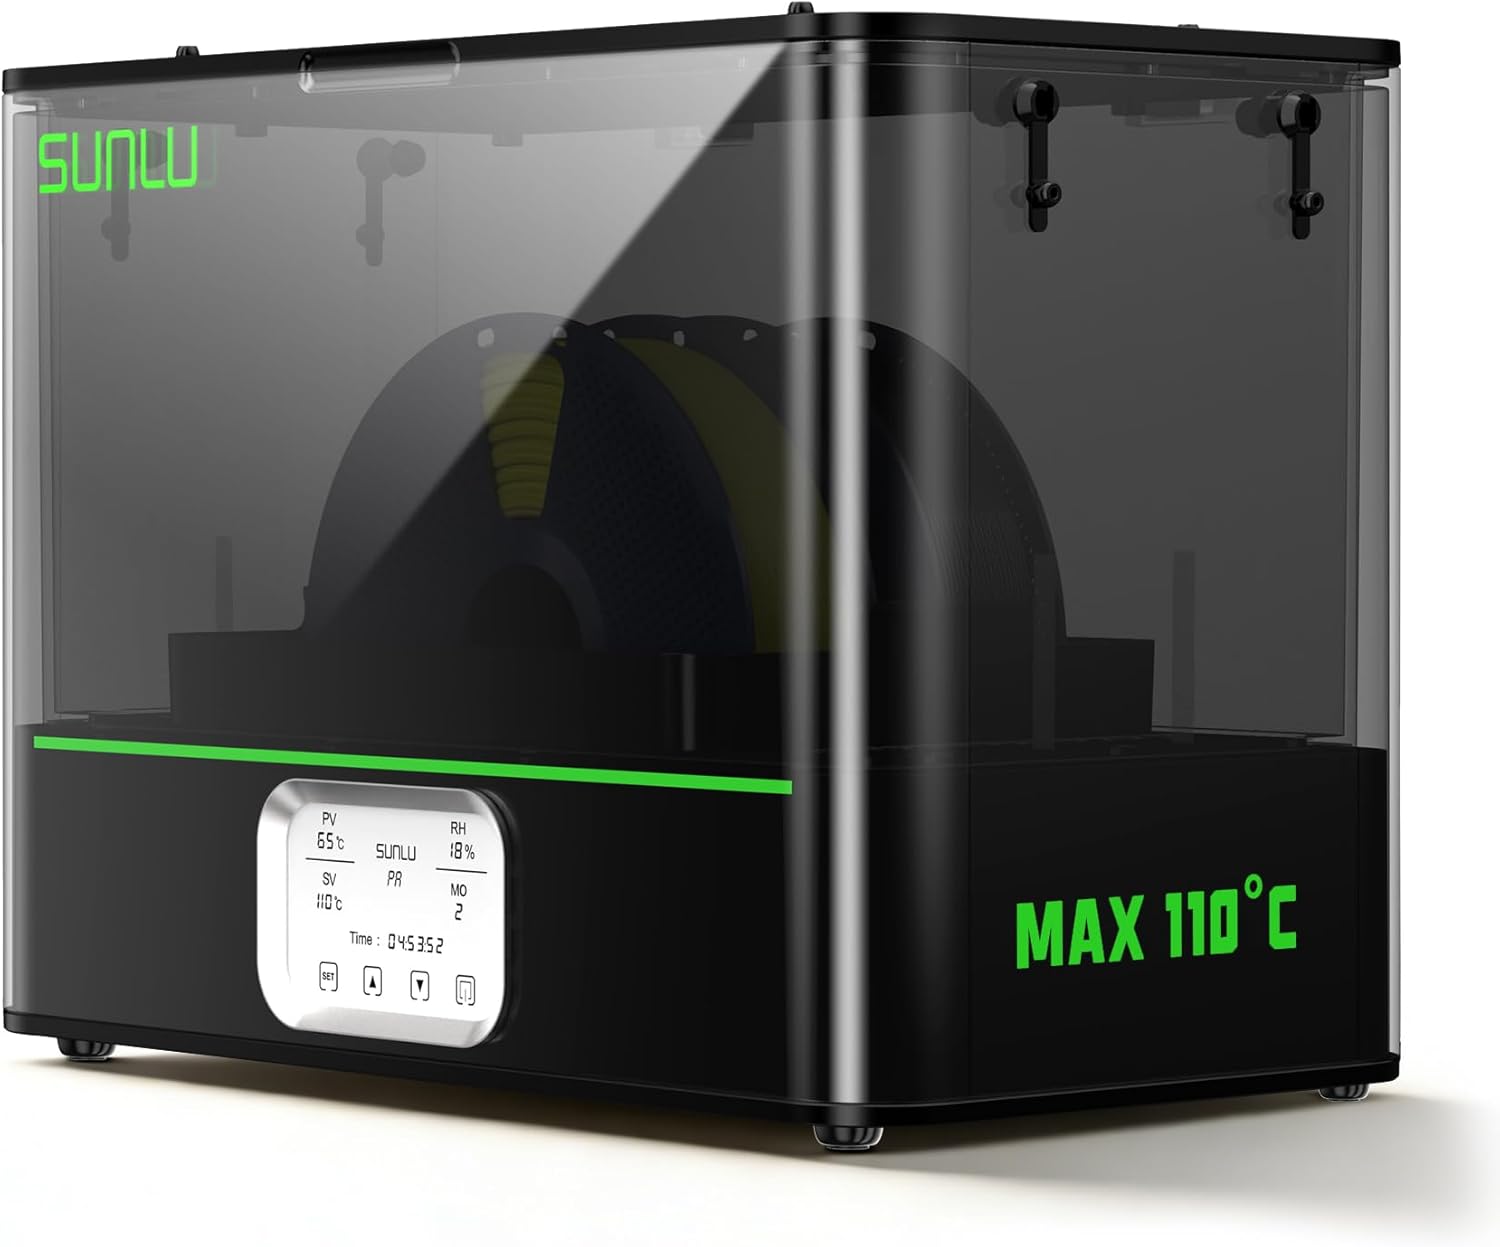
SUNLU Filament Dryer E2 — 110°C Max, Dry & Anneal 2-in-1
Most filament dryers max out at 50°C — useless for engineering filaments and annealing. The SUNLU E2 goes up to 110°C with a 500W PTC heater and dual chambers, making it the only consumer dryer that handles PC, PA-CF, and FR-ABS drying and doubles as an annealing unit for finished prints. If you work with engineering filaments, this is a significant upgrade over budget options.
Related: Ultimate Guide to 3D Printer Filament Dryers
Pros
- 110°C max — handles PC, PA-CF, FR-ABS
- Dual chamber — dry two spools simultaneously
- Anneal finished prints in the same unit
- 500W PTC heater — fast and consistent
Cons
- $300 — serious investment over basic dryers
- Newer product — smaller review base
Chemical Smoothing (Beyond Acetone)
Acetone only works for ABS. Other materials have their own solvent solutions:
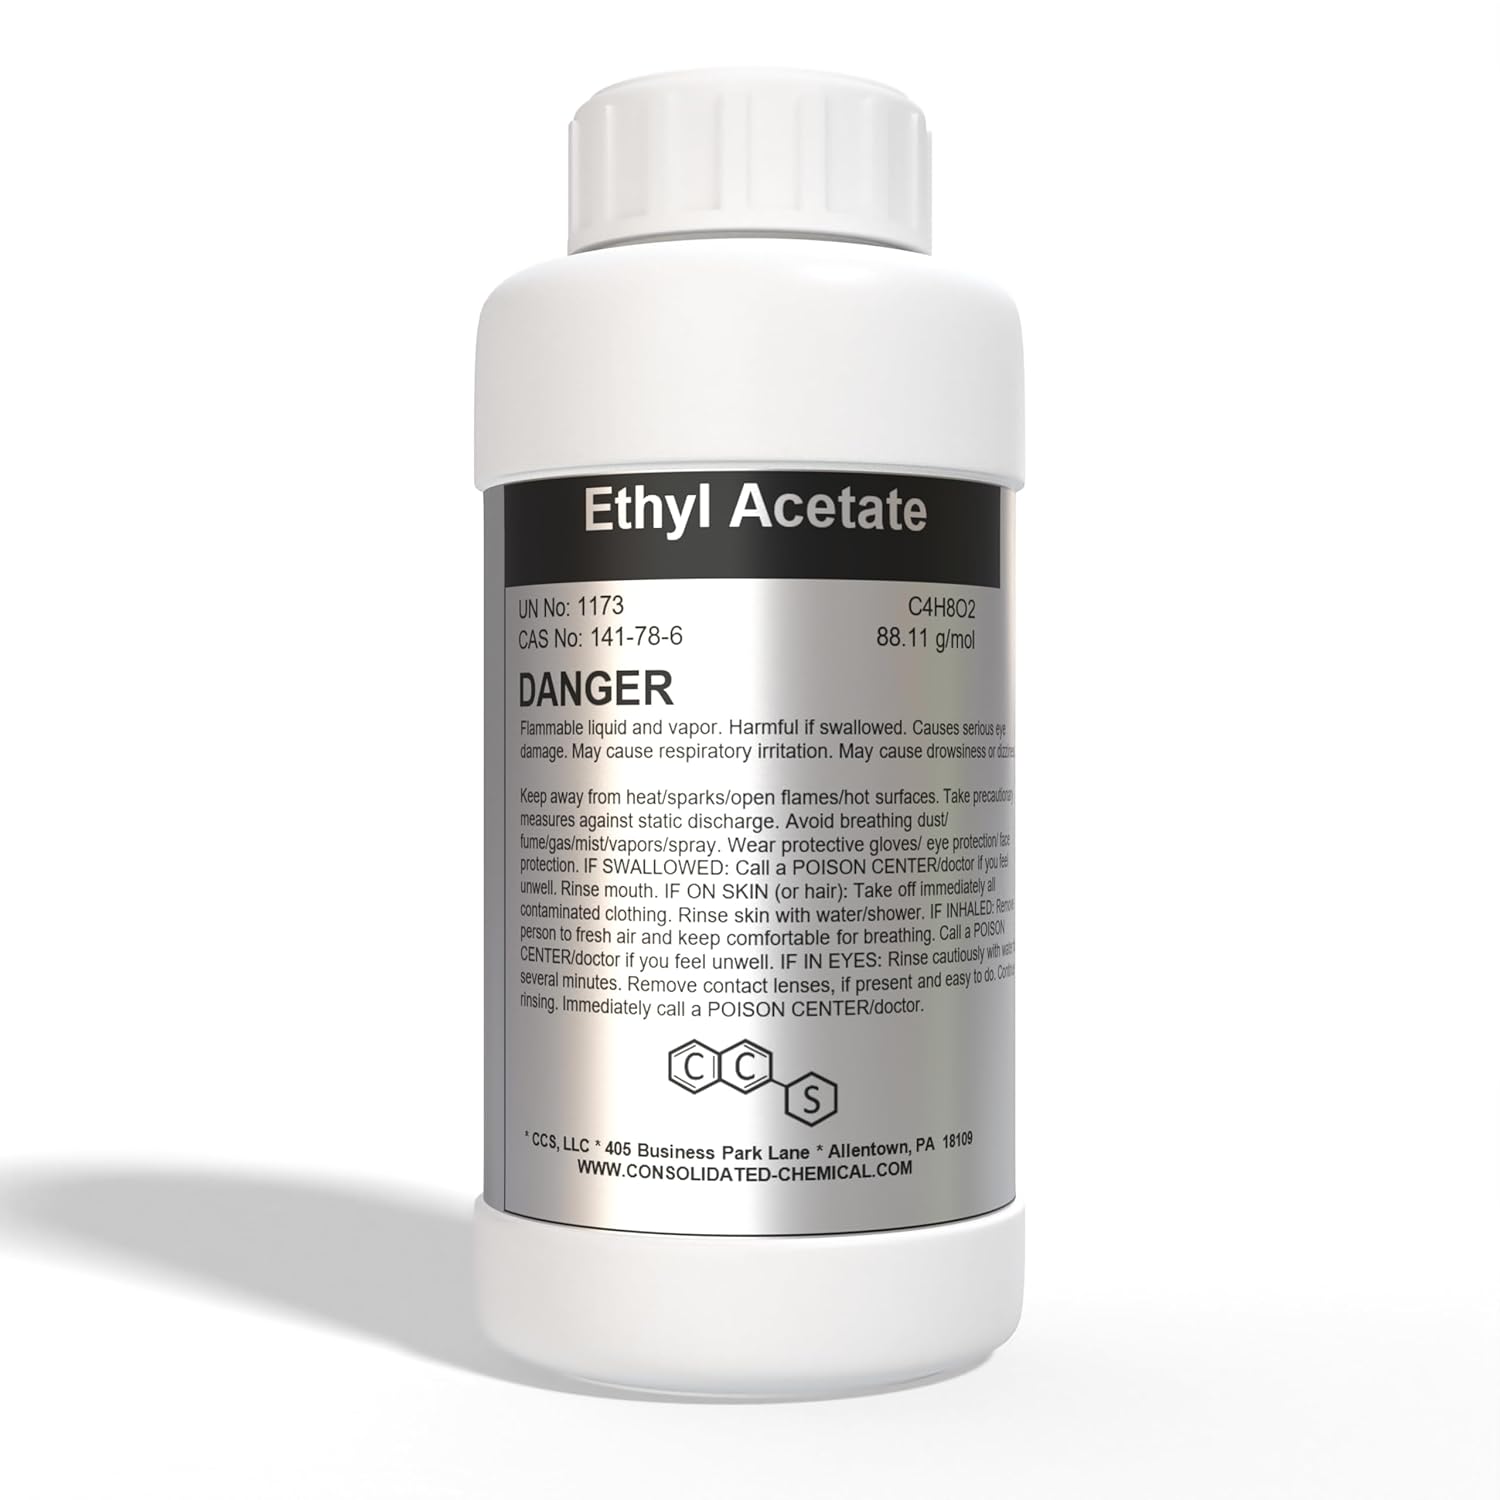
Premium Ethyl Acetate 99.5% Purity — 250mL (For PLA)
Ethyl acetate is the closest thing PLA has to an acetone equivalent. At 99.5% purity, this bottle from CCS Consolidated works reliably for surface smoothing PLA in a controlled vapor chamber — always test on a scrap piece first, as ethyl acetate affects PLA more slowly and less predictably than acetone on ABS. The 250mL bottle provides ample volume for many sessions.
Pros
- 99.5% purity — consistent, reliable results
- Only viable solvent vapor option for PLA
- Less aggressive than acetone — more control
Cons
- Results vary — test on scraps first
- Flammable — requires ventilation and care
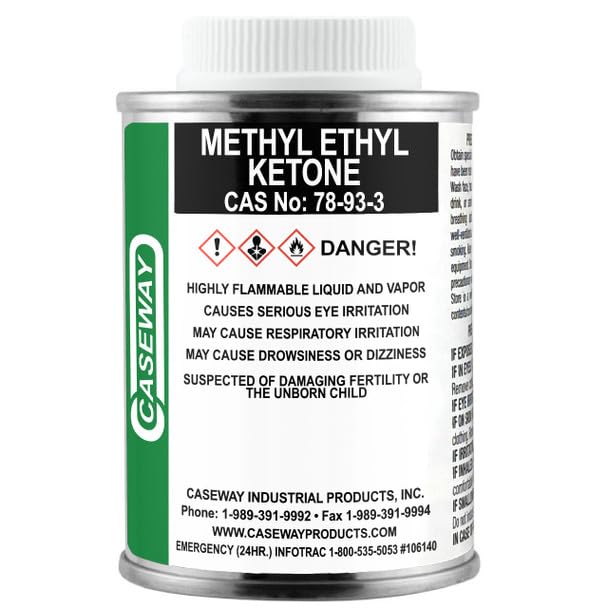
Methyl Ethyl Ketone (MEK) 4oz — For PETG Smoothing
MEK (methyl ethyl ketone) is the correct solvent for PETG chemical smoothing — acetone barely touches PETG, but MEK dissolves and softens the surface layer effectively. Use in a well-ventilated area, apply with a brush or in a small vapor chamber, and test on scrap first. The 4oz bottle from Caseway provides a practical quantity for controlled smoothing experiments.
Pros
- Only viable solvent option for PETG smoothing
- Affordable 4oz quantity for testing
- Fast evaporation — controllable application
Cons
- Strong fumes — outdoor or fume-hood use only
- Flammable — no open flames nearby
- Results vary — always test on scrap first
UV Curing for Resin Prints
Post-cure in a UV chamber for 10–15 minutes after washing. Submerging in water during curing reduces oxygen inhibition and produces a harder, less tacky surface. Related: ELEGOO Mercury Plus V3.0 Review.
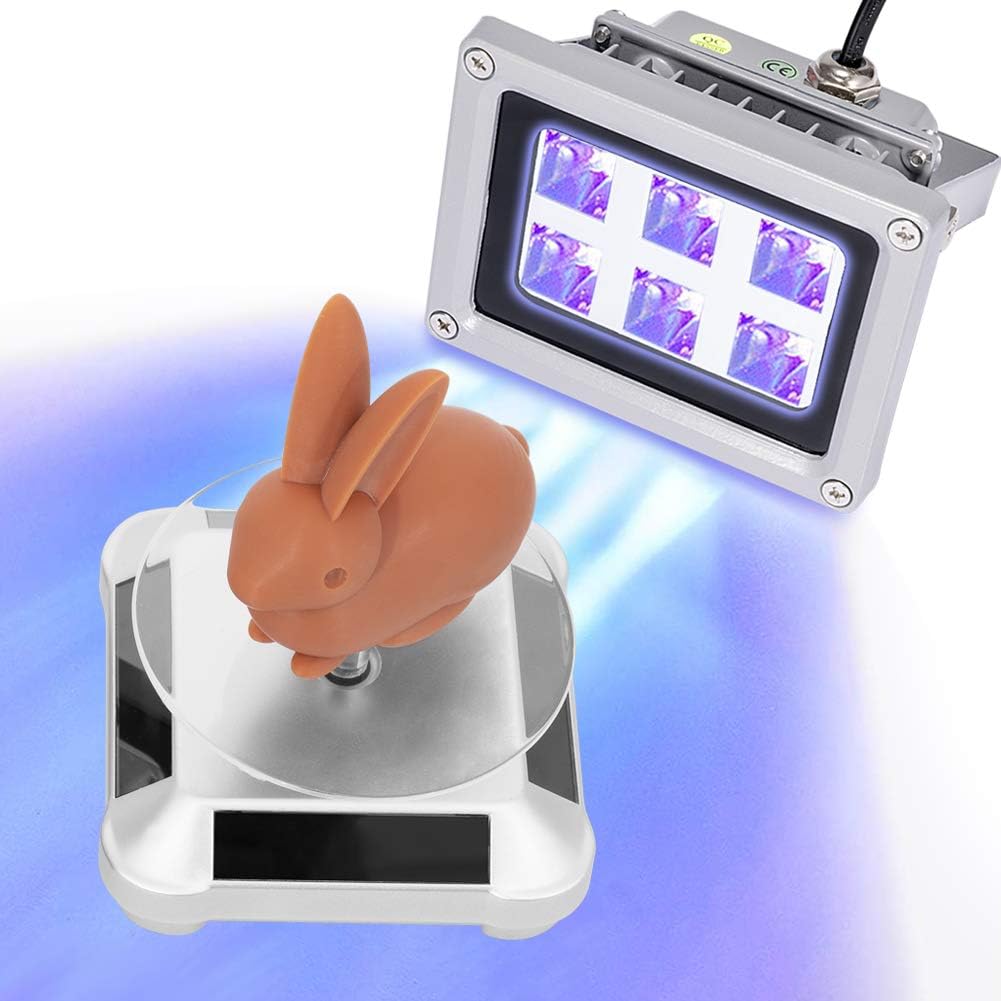
Comgrow UV Resin Curing Light — 405nm, 360° Rotating Turntable
Under $20, this UV curing light with solar-powered rotating stand handles basic resin curing for anyone who doesn’t yet own a wash-and-cure station. The 405nm wavelength matches all standard resins, and the 360° turntable ensures even exposure without manually rotating the print. The enclosed DIY curing enclosure is included, which also protects your eyes from UV exposure during curing.
Pros
- Under $20 — affordable entry-level option
- 360° rotating turntable for even curing
- 405nm — works with all standard resins
- Enclosure included for eye safety
Cons
- Less powerful than dedicated wash+cure stations
- Small enclosure limits part size
Epoxy Coating
What It Does
Adds a thick, durable shell over the print. Self-leveling epoxy fills remaining micro layer lines and produces a glass-like surface without any sanding at all on already-primed prints. Also significantly strengthens thin-walled parts.
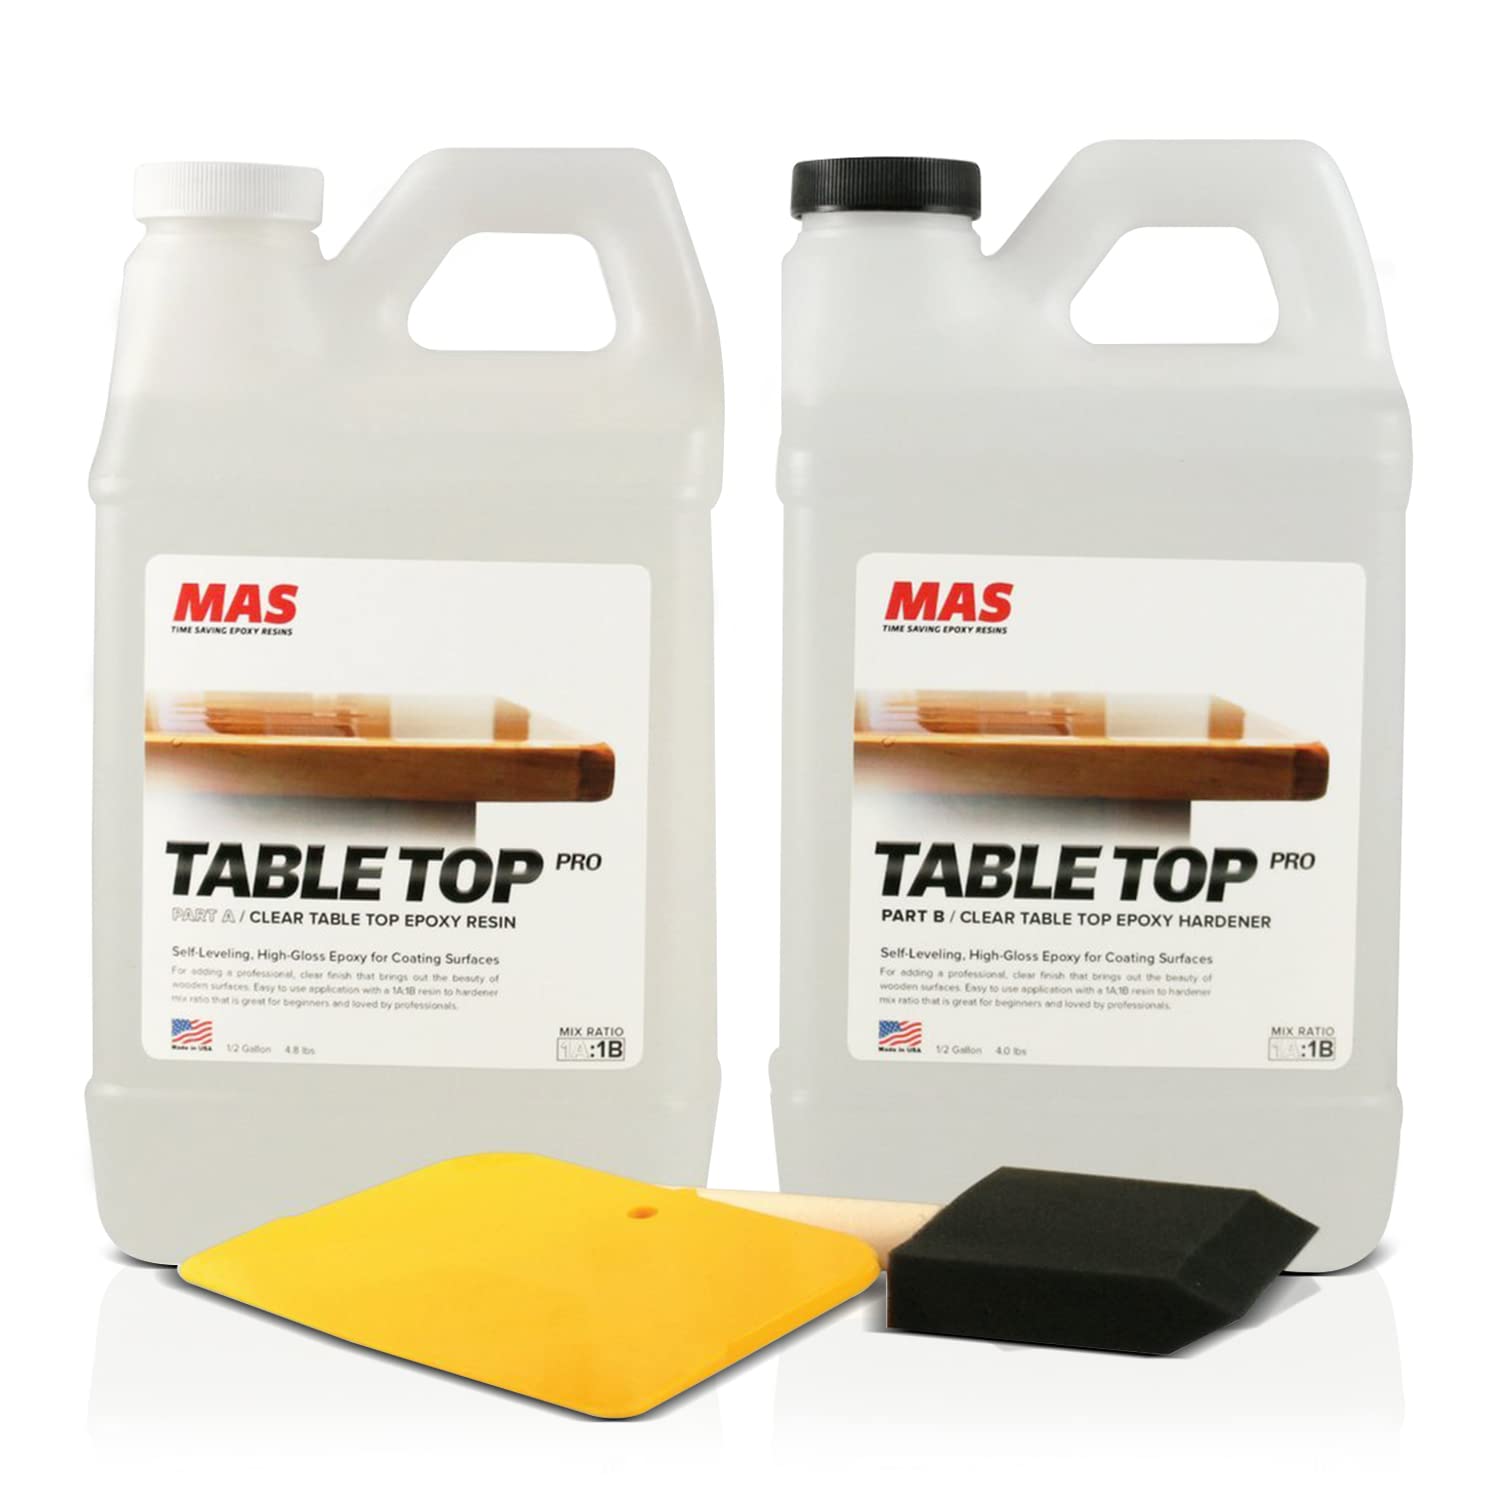
MAS Epoxies Table Top Pro — 1 Gallon, Crystal Clear
MAS Epoxies Table Top Pro is the self-leveling, glass-like epoxy finish for 3D prints that need to look professional. Apply one thin coat over a primed surface and it self-levels to fill micro layer lines completely — no additional sanding needed. The 1-gallon kit covers multiple large prints. It remains crystal clear without yellowing, even over painted surfaces.
Pros
- Self-leveling — fills micro layer lines automatically
- Crystal clear, non-yellowing formula
- 1-gallon covers many prints — good value
- Waterproof and impact resistant when cured
Cons
- Overkill for small/casual prints
- Requires 24–72 hours cure time
- 1:1 mix ratio needs accurate measuring
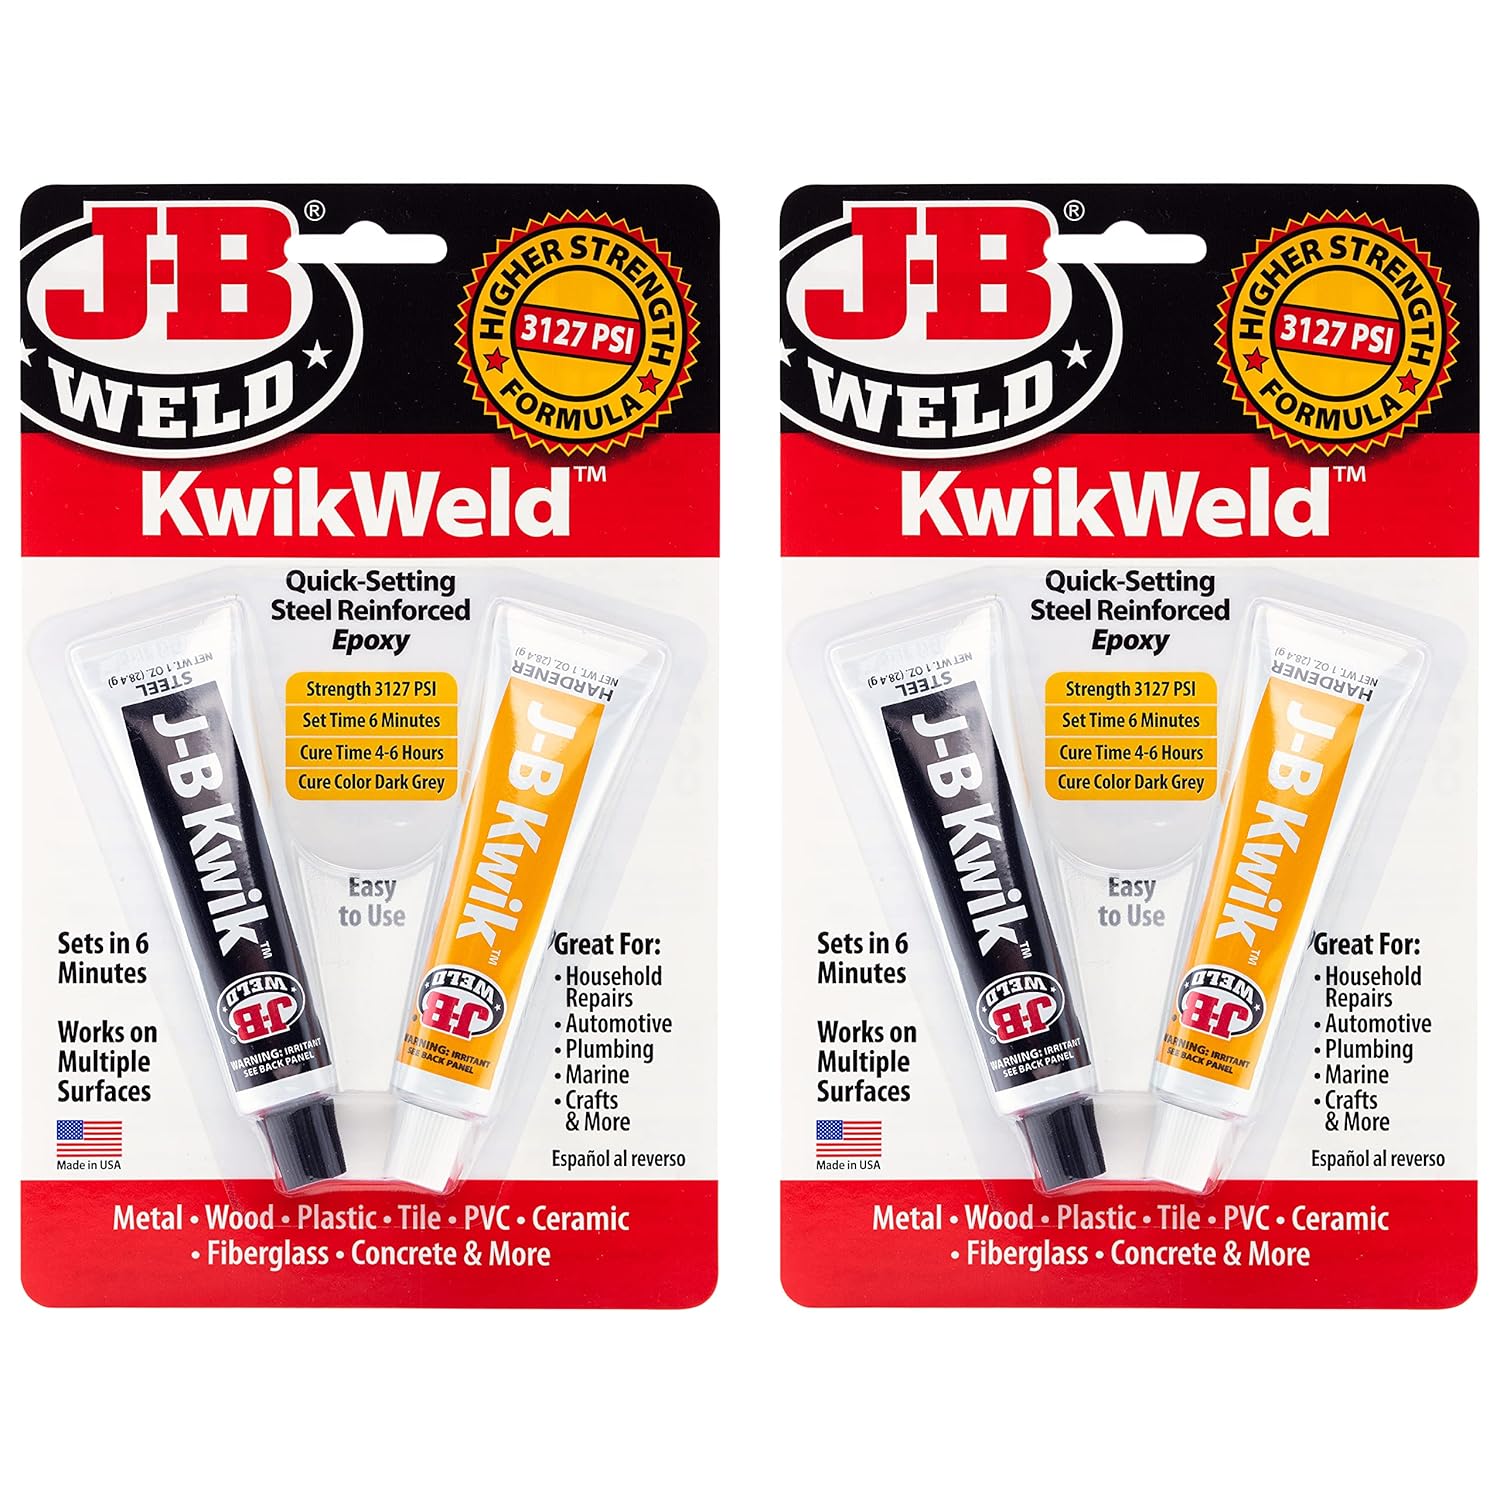
J-B Weld KwikWeld — 6-Minute Set, Steel-Reinforced Epoxy
Where MAS Epoxies is about aesthetics, J-B Weld KwikWeld is about strength. This steel-reinforced, 6-minute set epoxy is what I reach for when bonding functional printed parts — brackets, mounts, enclosure hinges, and repair jobs that need impact resistance. It bonds reliably to PLA, PETG, and ABS, and cures hard enough to be drilled and tapped after 4–6 hours.
Pros
- 6-minute set — fast working time for repairs
- Steel-reinforced — serious impact resistance
- Can be drilled, tapped, and machined after curing
- Works on PLA, PETG, ABS, and most materials
Cons
- Dark grey colour — not suitable for visible display joints
- Not self-leveling — requires gap-filling technique
Safety First: Essential Gear
Never skip safety when post-processing. Resin sensitization from repeated unprotected exposure can become a permanent allergy. Solvents like acetone and ethyl acetate are flammable. Always use a respirator for sanding and chemical fumes, nitrile gloves when handling resins or solvents, and adequate ventilation (fume hood or open windows with a fan drawing air out).
See the full breakdown: 3D Printing Safety Gear Must-Haves for Resin and FDM Projects.
Material-Specific Cheat Sheet
| Material | Best Techniques | Avoid | Best Solvent |
|---|---|---|---|
| PLA | Sanding, priming, epoxy coating, heat gun (low) | Acetone vapor, power sanders | Ethyl acetate (test first) |
| ABS | Vapor smoothing, electroplating, sanding | UV resin coating directly | Acetone |
| PETG | Light sanding, priming, heat gun (low), epoxy | Acetone, aggressive sandblasting | MEK (methyl ethyl ketone) |
| Resin | Wet sanding, UV curing, Novus polish, clear coat | Aggressive sandblasting, acetone | IPA (for washing, not smoothing) |
| Nylon / PC | Annealing, sanding, priming, epoxy coating | Vapor smoothing, high-heat gun | N/A (anneal instead) |
Related: PLA vs ABS vs PETG — Full Material Comparison | Top 5 Resin 3D Printers
Frequently Asked Questions
How do I smooth 3D prints without sanding?
Use vapor smoothing for ABS (acetone chamber or the Polymaker Polysher), ethyl acetate vapor for PLA, or brush-on epoxy like MAS Epoxies Table Top Pro which self-levels over layer lines. A heat gun on the low setting also blends minor stringing and surface texture on PLA and PETG without removing material.
Can I polish resin prints to transparency?
Yes. Wet-sand progressively up to 3000 grit, then apply Novus Plastic Polish #2 followed by #1 for a near-glass finish. A final coat of UV-resistant clear spray like Krylon preserves the transparency and protects it from UV yellowing.
What’s the fastest way to finish a PLA print?
Apply Tamiya Fine Surface Primer, let dry 30 minutes, light sand with 400 grit, then apply one coat of MAS Epoxies. No further sanding needed. Total active time: about 20 minutes. Cure time: 24 hours.
Is vapor smoothing safe to do at home?
Acetone vapor smoothing requires ventilation, no open flames, nitrile gloves, and ideally an outdoor or garage setting. The Polymaker Polysher is the safest indoor option as it contains the alcohol mist in a sealed chamber and uses isopropyl alcohol instead of acetone.
What epoxy should I use for 3D prints?
MAS Epoxies Table Top Pro for display pieces needing a glass-like self-leveling finish. J-B Weld KwikWeld for functional parts that need impact resistance and a 6-minute set time. Both bond reliably to PLA, PETG, and ABS.
Conclusion
Mastering post-processing turns good prints into exceptional ones. From a $7 X-Acto knife all the way up to a $300 annealing dryer, these 15 tools and techniques cater to every level and budget. Start with the basics — a precision knife, Tamiya primer, and NOVUS polish — and build from there as your projects demand more.
Want to go further? Read our full 16 Best 3D Printing Tools roundup, explore the must-have 3D printer accessories guide, or check the 35 super useful 3D printing tools list for even more options.
Related posts:
 35+ Super Useful 3D Printing Tools for 2025
  Is AEORUM A Recommended Tool Kit for 3D Printing
  Is YEETIN a Good Tool Kit for 3D Printing
  Best Butane Torch for 3D Printing: Top Picks to Perfect Your Prints in 2025
 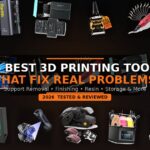 16 Best 3D Printing Tools That Actually Fix Real Problems (2026)
  Top 5 3D Printer Filament Racks for Organized and Efficient Workspaces
  Comgrow Filament Dryer Box Review: Is This the Best Budget Dryer for 3D Enthusiasts?
 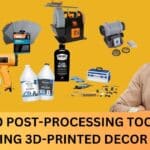 Best 10 Post-Processing Tools for Polishing 3D-Printed Decor in 2025 – Shine Up Your Prints Now!
 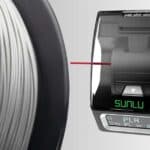 SUNLU Filament Connector Review: Fuse Your 3D Printing Filament Like a Pro in 2025
  SUNLU FilaDryer SP2: 2-in-1 Dryer Drops May 19!
  Prime Day 2025: 100 Essential 3D Printer Upgrades and Filament Deals for Every Maker
  Best Cyber Monday 3D Printer Deals 2025: Save Up to 45% on Bambu Lab, Creality & ANYCUBIC (Live Deals)