
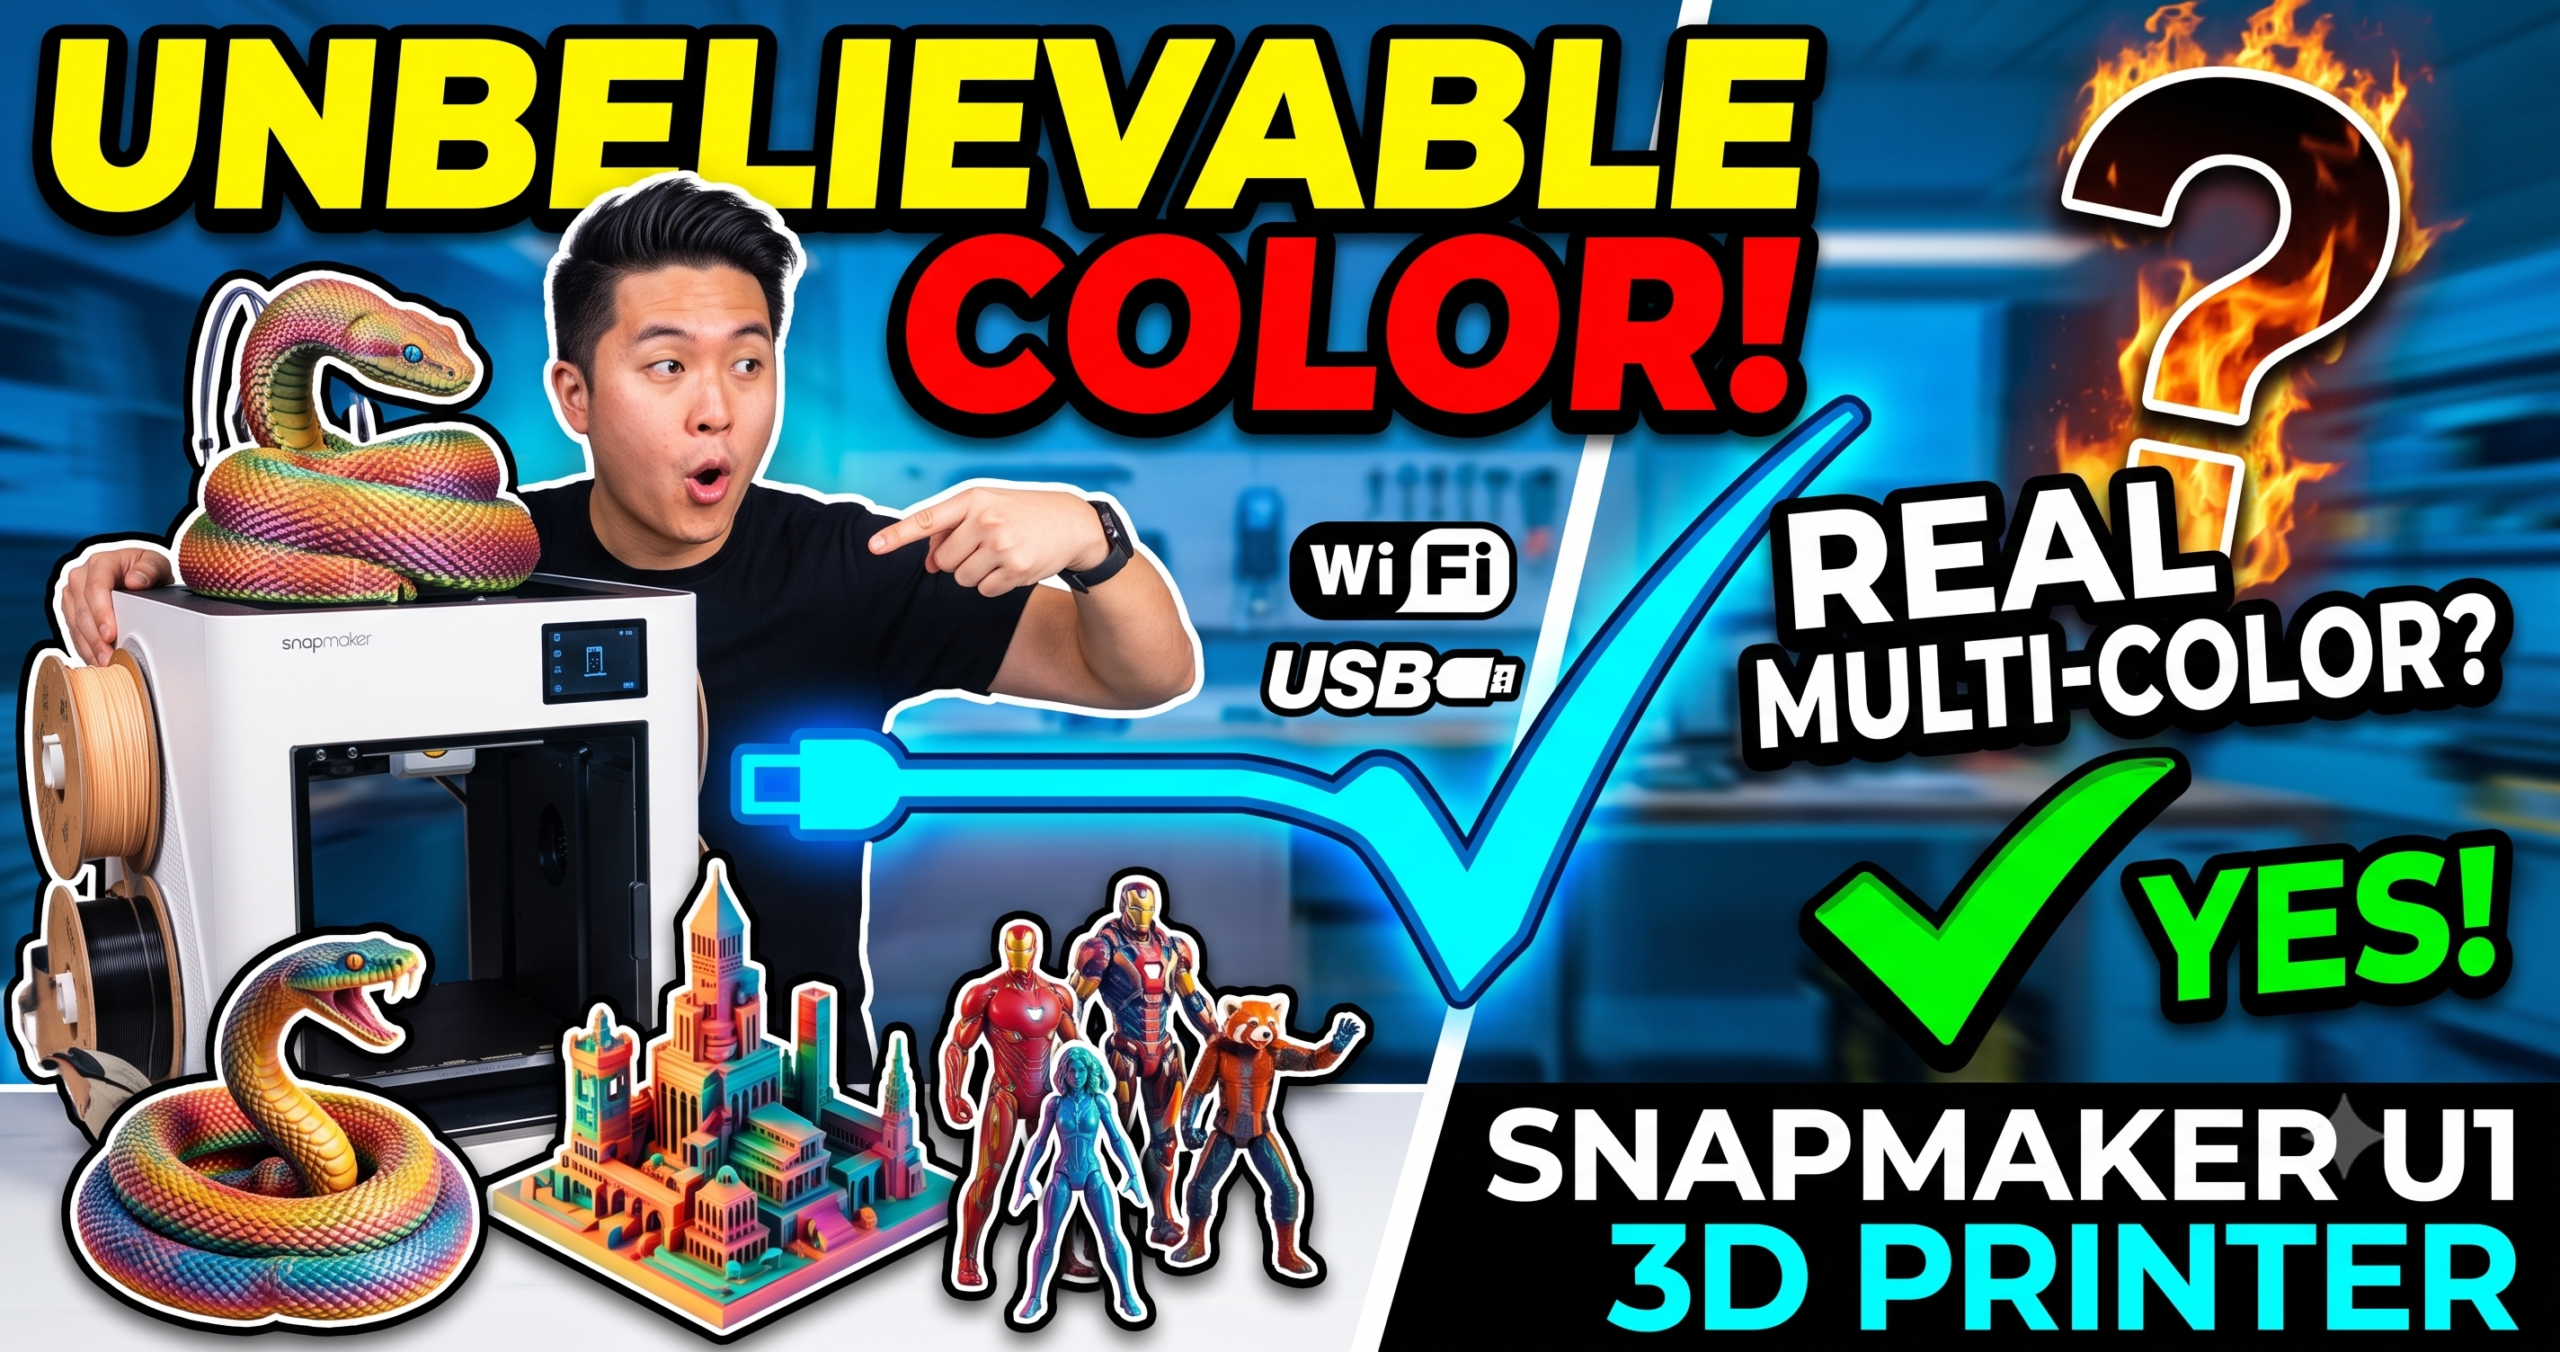
The U1’s four-toolhead carriage is the whole story here — it’s what lets it swap colors in 5 seconds instead of the usual 2 minutes.
The Snapmaker U1 solves the one thing that makes multi-color printing annoying: waste. Instead of purging one nozzle every color change, it swaps between four pre-loaded, pre-heated toolheads in about 5 seconds. That’s the entire pitch, and after digging into verified owner reports and the machine’s real specs, it mostly holds up.
The Bottom Line: Buy — if you print multi-color or multi-material parts regularly, the U1’s toolhead-swap system pays for itself in saved filament within weeks.
The Killer Feature: Four independent, simultaneously-heated nozzles mean near-zero purge waste on color changes — something single-nozzle AMS-style systems can’t match.
2026 Value Score: 8.7/10
What Is the Snapmaker U1, Exactly?
The Snapmaker U1 is a CoreXY 3D printer built around a toolhead-changing system called SnapSwap. It ships with four toolheads, each kept loaded and heated, so switching colors or materials mid-print takes roughly 5 seconds instead of the 2-minute purge cycle most multi-color printers need.
Is the Snapmaker U1 Actually Faster Than a Single-Nozzle AMS Printer?
Yes, on multi-color jobs specifically — because it isn’t purging filament between every color change, most of the “waste time” other systems spend flushing old material simply doesn’t exist on the U1.
One buyer’s timelapse of a four-color model put the U1 at roughly 32 hours against an estimated 58 hours on a comparable single-nozzle multi-color machine for the same file, with the single-nozzle machine also dumping around 350g of purged filament in the process. That gap disappears entirely on single-color prints, where the U1’s 500 mm/s CoreXY motion is doing the work instead of the toolhead system.
The Setup Experience
Multiple verified buyers reported first-print setup in under 20 minutes, including the guided on-screen calibration sequence. That’s fast for a machine with this much going on mechanically — most tool-changing printers we’ve covered take considerably longer to dial in on day one.
How Accurate Is Print Quality Out of the Box?
Print quality lands on the accurate, low-fuss end thanks to automatic toolhead offset calibration — the machine measures where each of the four nozzles sits relative to the others so colors register on top of each other correctly, instead of you eyeballing an offset in software.
Vibration compensation and fine-tuned extrusion are handled the same way: measured and corrected automatically rather than left to manual tuning. For a machine juggling four separate toolheads, that matters more than it would on a single-nozzle printer, since any drift between heads shows up as visible misalignment in multi-color layers.
First-layer adhesion is the other place this shows up. Buyers reported dialing in a working first layer within their first few prints rather than spending a weekend on bed leveling — a meaningful difference if you’re coming from a printer that needed frequent manual releveling.
The 3.5-Inch Touchscreen and Remote Control
Day-to-day operation runs through a 3.5-inch touchscreen on the machine itself, plus a companion app for starting, monitoring, and stopping prints remotely. AI-powered print monitoring flags obvious failures — spaghetti, layer shifts — so a bad print doesn’t run to completion unattended and waste an entire evening’s worth of filament across all four colors.
Can the Snapmaker U1 Print Flexible and Rigid Materials Together?
Yes — because each toolhead is independent, you can load something rigid like PETG in one and something flexible like TPU in another without either contaminating the other’s nozzle. That’s the core use case for soluble supports and functional multi-material parts, not just multi-color aesthetics.
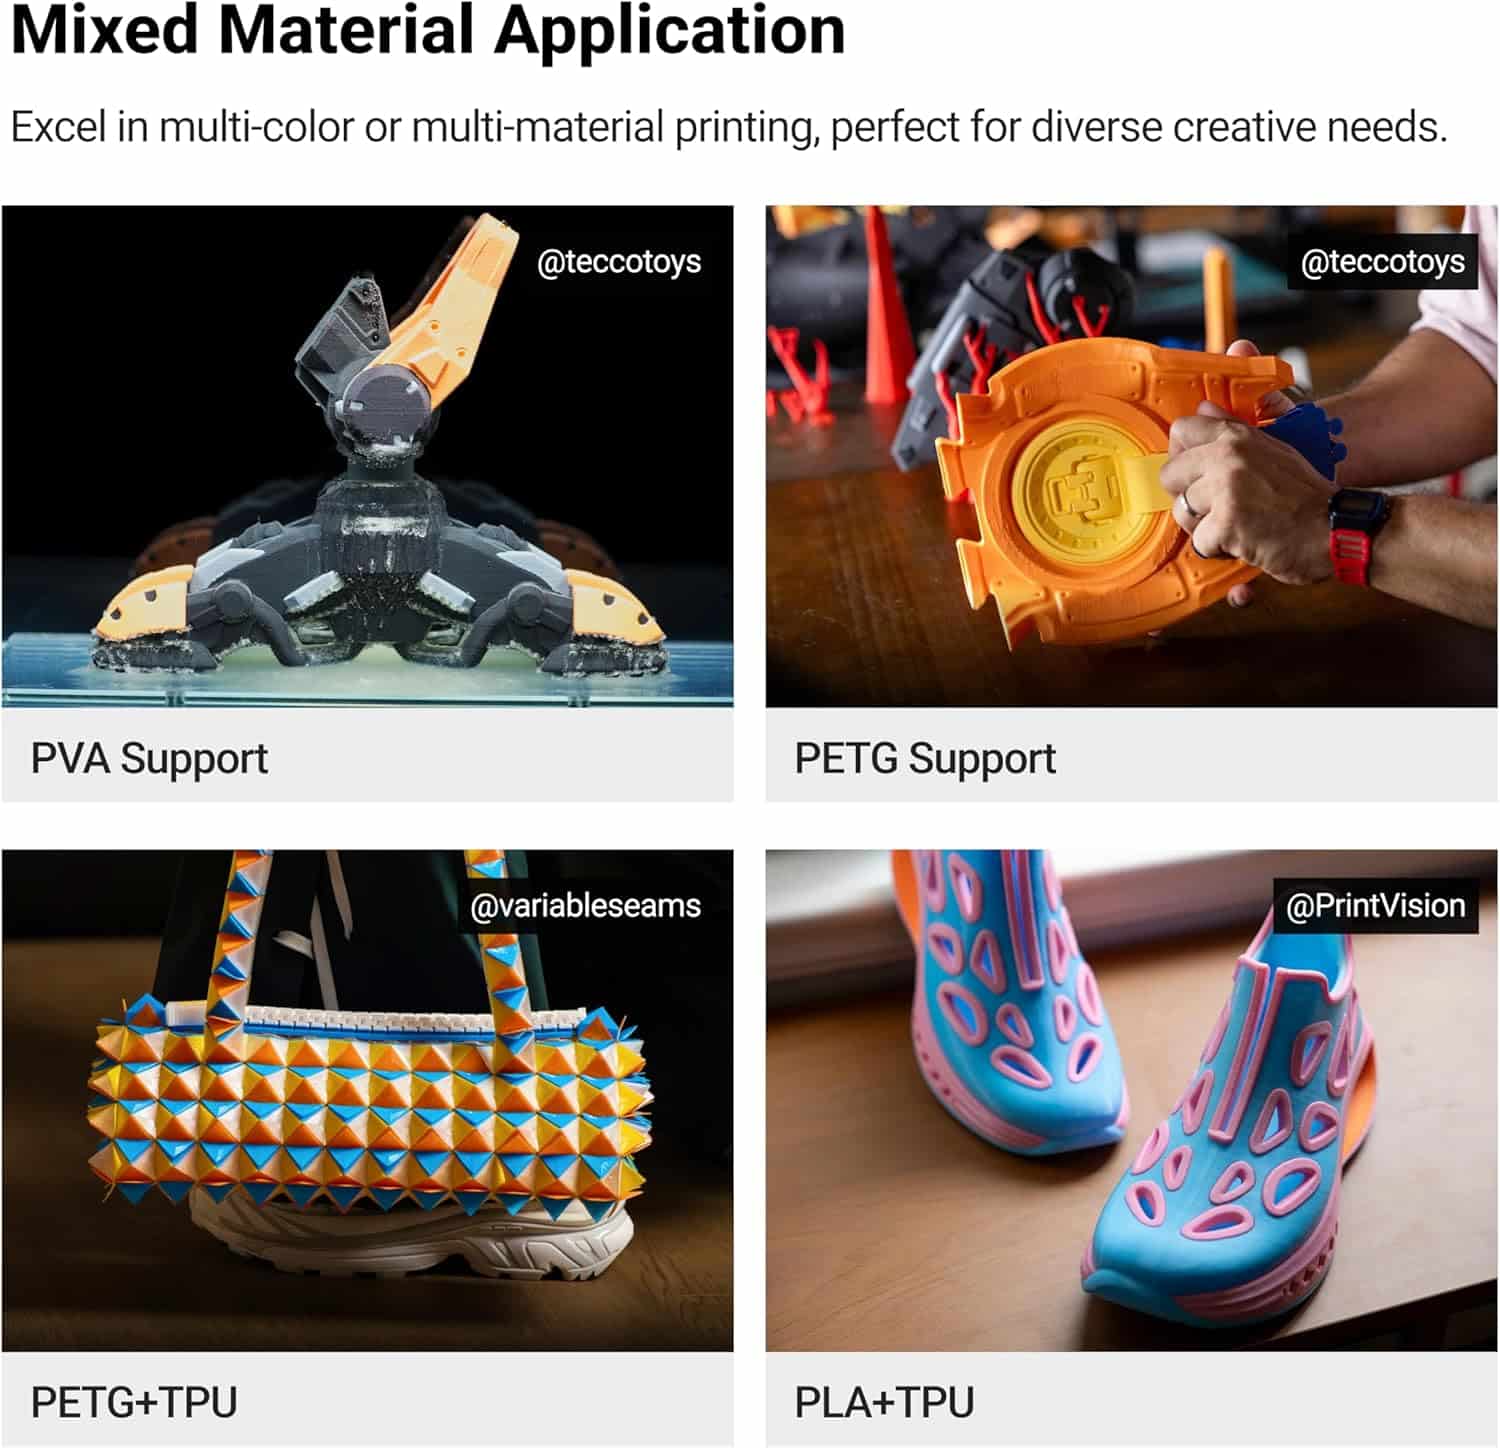
Mixed-material parts like this are the practical payoff of four independent nozzles — no manual filament swaps mid-print.
The Reality of Long-Term Ownership
Maintenance & Wear
The toolhead-lock mechanism is the part most likely to matter over time, since it’s cycling every color change. Snapmaker’s validation claims cover over a million swap cycles without failure, which — if it holds up outside lab conditions — should outlast most hobbyist print schedules by years.
Hidden Costs
Budget for filament in at least 3-4 colors up front, since the whole point of the toolhead system is multi-material work — running it single-color most of the time wastes its main advantage. There’s no subscription or cloud fee; slicing runs through the free, open-source Snapmaker Orca app.
The Tinkerer’s Hack
Because each toolhead preheats independently, you can stage a cooler-temp toolhead with TPU and a hotter one with PETG at the same time without waiting for a shared hotend to change temperature between colors — shaving real time off mixed-material prints that would otherwise need a temperature-tower-style delay between swaps.
Snapmaker U1 vs. Prusa XL: How Do the Two Multi-Toolhead Printers Compare?
The U1 swaps entire toolheads in seconds, while the Prusa XL uses multiple stationary toolheads it selects between — both avoid the single-nozzle purge problem, but they get there differently, and their price and speed profiles diverge sharply.
| Feature | Snapmaker U1 | Prusa XL | Winner | Why It Won |
|---|---|---|---|---|
| Toolhead System | 4 swappable, ~5 sec change | Up to 5 stationary toolheads | Snapmaker U1 | Faster changeover; nothing needs to park and reheat mid-print |
| Max Speed | 500 mm/s | ~200 mm/s typical | Snapmaker U1 | More than double the practical print speed on single-color runs |
| Build Volume | 270 × 270 × 270 mm | 360 × 360 × 360 mm | Prusa XL | Meaningfully larger parts and batch plates fit in one job |
| Price | $899.00 | [CHECK CURRENT PRICE] | Snapmaker U1 | Lower verified entry price for a multi-toolhead system |
| Slicer | Snapmaker Orca (free, open source) | PrusaSlicer (free, open source) | Tie | Both are free and actively maintained |
| Assembly | Fully assembled | Kit or pre-assembled option | Snapmaker U1 | No build time before your first print |
| Community & Mods | Newer, smaller mod ecosystem | Large, mature open-source community | Prusa XL | Years of head start on third-party upgrades and troubleshooting threads |
Note: Prusa XL pricing varies by configuration and toolhead count — check the current listing before comparing directly.
Snapmaker U1 Pros and Cons
Pros
- Near-zero purge waste on color/material changes
- 500 mm/s CoreXY speed with carbon fiber rails
- Setup reported under 20 minutes by multiple buyers
- True mixed-material printing (rigid + flexible) in one job
- Free, open-source slicer with a built-in model library
Cons
- 270mm build volume is modest next to larger toolhead machines
- 4-toolhead carriage adds weight/complexity you don’t need for single-color prints
- Newer platform with a smaller mod community than established brands
- Running fewer than 3-4 filament colors leaves the core feature underused
Who Should Buy the Snapmaker U1?
The clearest fit is anyone printing multi-color models, cosplay props, or display pieces on a regular basis — the toolhead system is built specifically to make that workflow fast and cheap in filament. It’s also a strong pick for functional-part makers who need TPU gaskets or grips molded into a rigid PETG or PLA body without a manual mid-print swap.
It’s a weaker fit if your prints are almost always single-color and single-material. In that case you’re paying for — and hauling around the extra weight of — four toolheads you’ll rarely use all at once, and a simpler single-nozzle CoreXY machine will get you the same single-color result for less money.
Build volume is the other filter. At 270 × 270 × 270 mm, the U1 comfortably handles most desktop decor, cosplay accessories, and functional parts, but anyone printing large cosplay armor pieces or big batch plates in one job should look at a larger-volume machine instead.
Snapmaker U1 FAQ
Is the Snapmaker U1 good for beginners?
Yes — the guided calibration sequence and sub-20-minute setup reported by buyers make it approachable, though the 4-toolhead system is more machine than a beginner strictly needs on day one.
How much filament waste does the Snapmaker U1 actually save?
Snapmaker’s own figures claim up to 5x less waste than single-nozzle multi-color systems, and one buyer’s real-world comparison print backed that up with roughly 350g less purged filament than an equivalent single-nozzle job.
Can the Snapmaker U1 print PLA, PETG, and TPU?
Yes — its four independent toolheads support standard materials including PLA, PETG, and TPU, and can run rigid and flexible filaments in the same print without cross-contamination.
What’s in the box with the Snapmaker U1?
The printer ships with one PEI steel sheet, four toolheads with hot ends already installed, and four 500g spools of SnapSpeed PLA filament to get your first prints going.
Does the Snapmaker U1 require a subscription?
No — slicing runs through Snapmaker Orca, a free open-source slicer, so there’s no recurring software cost beyond the printer and filament itself.
How long does a toolhead swap take on the Snapmaker U1?
About 5 seconds per swap, down from the roughly 2 minutes a typical single-nozzle purge-and-swap cycle takes on comparable multi-color printers.
Related Reading
- Best Multi-Color 3D Printers of 2025
- What Is the Best Multi-Material 3D Printer?
- The Ultimate 3D Filament Tier List
- TPU 3D Printer Filament: Everything You Need to Know
- Best 3D Printer 2026: 14 Models Tested and Compared
Related posts:
 Best 3D Printer 2026: 14 Models Tested and Compared
  Anycubic Kobra S1 Combo vs Kobra 3 Combo: Final Review Before You Buy in 2025
  2025’s Best Multi-Color 3D Printer: AD5X Full Review
  Creality K2 Comparison 2026: Which Model Is Worth Your Money? (K2 Combo vs K2 Plus vs K2 Plus Combo vs K2 Pro Combo)
  QIDI Max4 Combo Review 2026: The Largest Sub-$1,500 CoreXY That Can Actually Print Nylon
  Creality K1 Max 3D Printer Review: Hurry! Unlock Your Creative Potential Now!
  Discover the Prusa CORE One: Your Next 3D Printing Adventure Awaits!
  Elegoo Centauri Carbon: The Best High-Speed CoreXY 3D Printer You Need Now!
  Best Multicolor 3D Printers of 2025 for Etsy Sellers Boosting Sales
  What is the Best Multi-Material 3D Printer?
  Creality K2 Plus vs Creality K2 Plus Combo: Best 3D Printer for 2025
  Ultimate Flashforge 3D Printer Guide 2025: Compare All Models