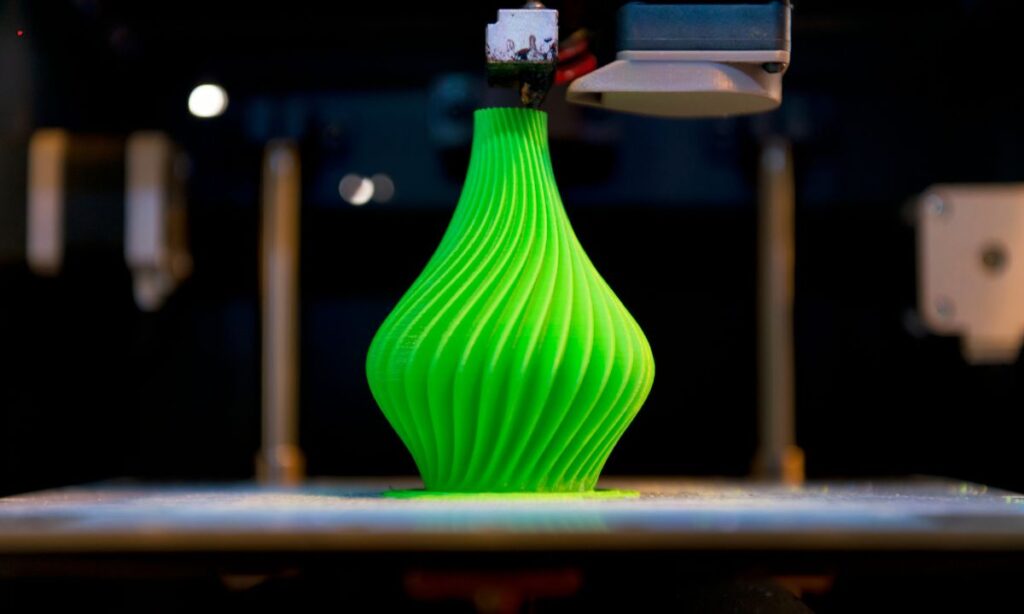
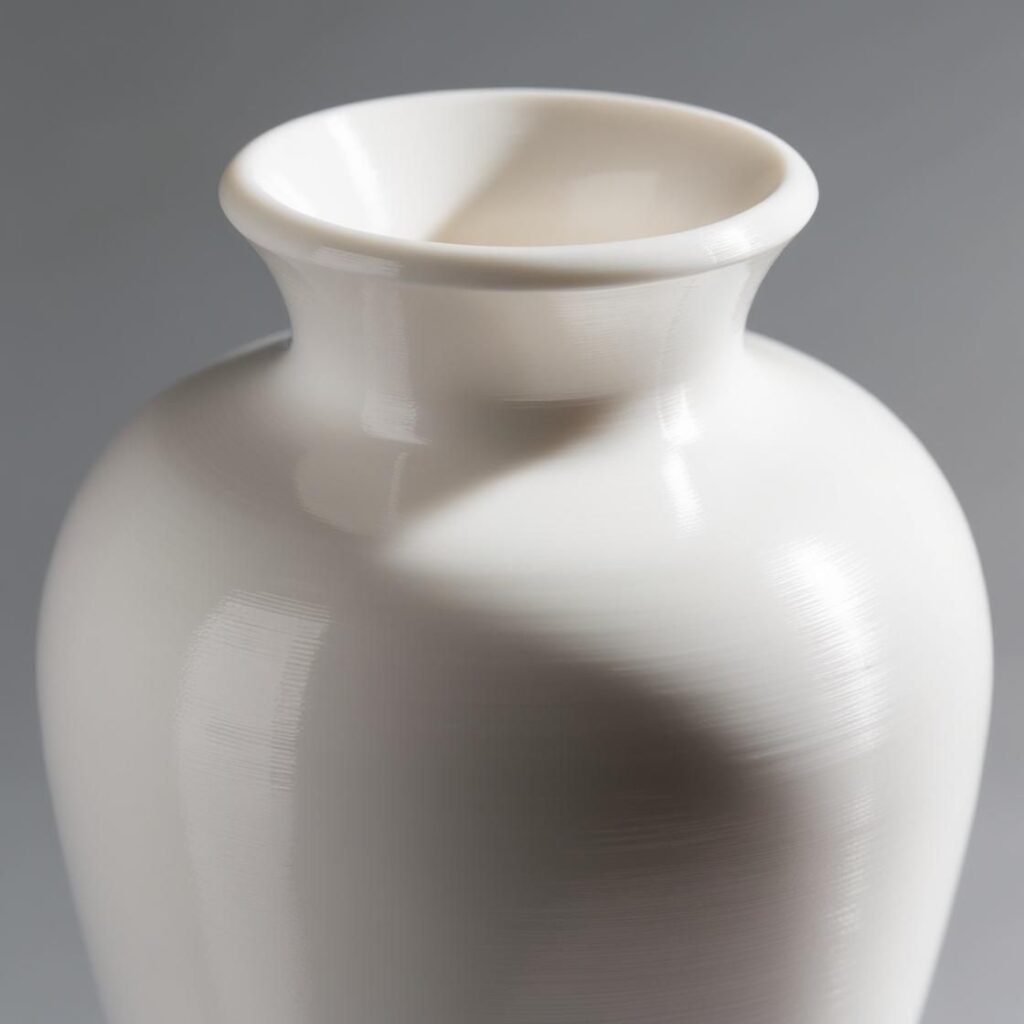
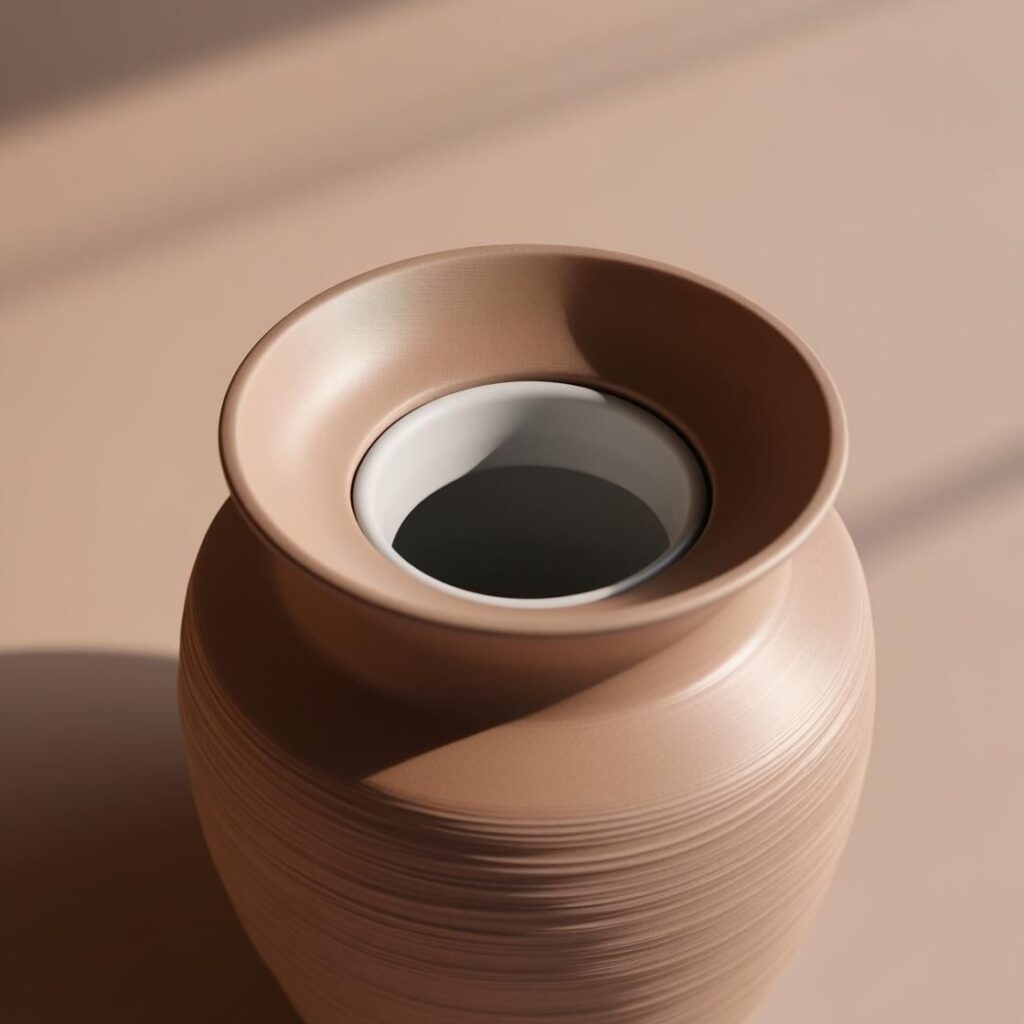
Creating a beautiful 3D printed vase can be rewarding, adding a unique and personal touch to your home decor. But what if you want your printed vase to hold water for fresh flowers? Many 3D prints, particularly those made with common materials like PLA, are not naturally waterproof and need a little extra help to become watertight. In this guide, I’ll walk you through some simple but effective methods to waterproof your 3D printed vases so they can hold water beautifully and last longer.
Affiliate Disclosure
We participate in Amazon affiliate programs, earning fees from qualifying purchases via links at no extra cost to you. It’s how we keep this blog rolling and my 3D printers buzzing with fresh filament for reviews like this one!
Related: Can 3D Printed Vases Truly Hold Water?
Why Aren’t 3D Printed Vases Waterproof by Default?
3D printed vases are typically not watertight because of the nature of how they’re built. Most 3D printing materials, like PLA, ABS, and PETG, create prints with small gaps or tiny holes where the layers meet. These microscopic gaps are perfect for creating interesting shapes but, unfortunately, they also let water through! The good news is that there are a few methods that can help you easily make your vases waterproof, adding functionality to their beauty.
Four Methods to Waterproof Your 3D Printed Vases
Here are some tried-and-true techniques to waterproof a 3D printed vase, each with its own benefits and considerations. Depending on your project and tools, you can pick the best approach for your vase.
Method 1: Applying Waterproof Sealants or Sprays
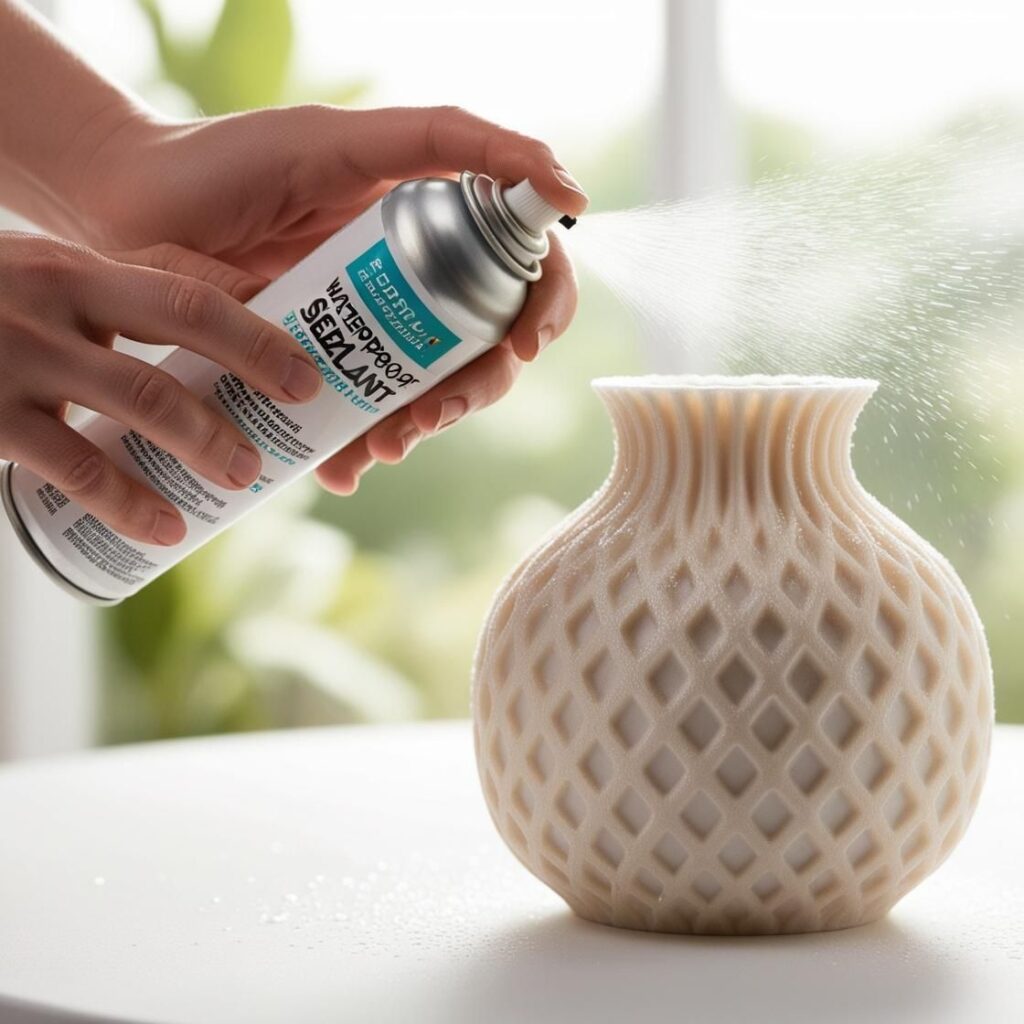
Using a waterproof sealant is one of the easiest methods, and it’s perfect if you’re looking for a quick solution.
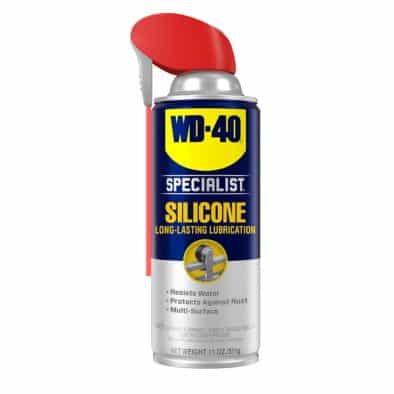
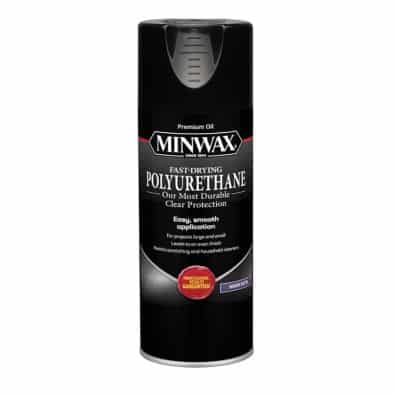
Materials Needed: A silicone spray, polyurethane spray, or any waterproofing sealant specifically safe for plastics. You’ll also need a clean workspace and gloves.
How to Apply:
- Clean the Vase: Start by removing any dust or debris from your vase with a clean, dry cloth. A smooth surface helps the spray adhere better.
- Apply the Sealant: Holding the spray can about 6-12 inches away, apply a light, even coat across the entire surface of the vase. Make sure you cover both the inside and outside if you want a complete seal.
- Dry and Reapply: Allow the sealant to dry according to the instructions on the product, usually for a few hours. For best results, add a second or even a third coat.
Pros and Cons:
This method is straightforward and can be done in under a day. The downside? Over time, the sealant might wear off and need reapplication.
Method 2: Using Epoxy Resin for a Long-Lasting Seal
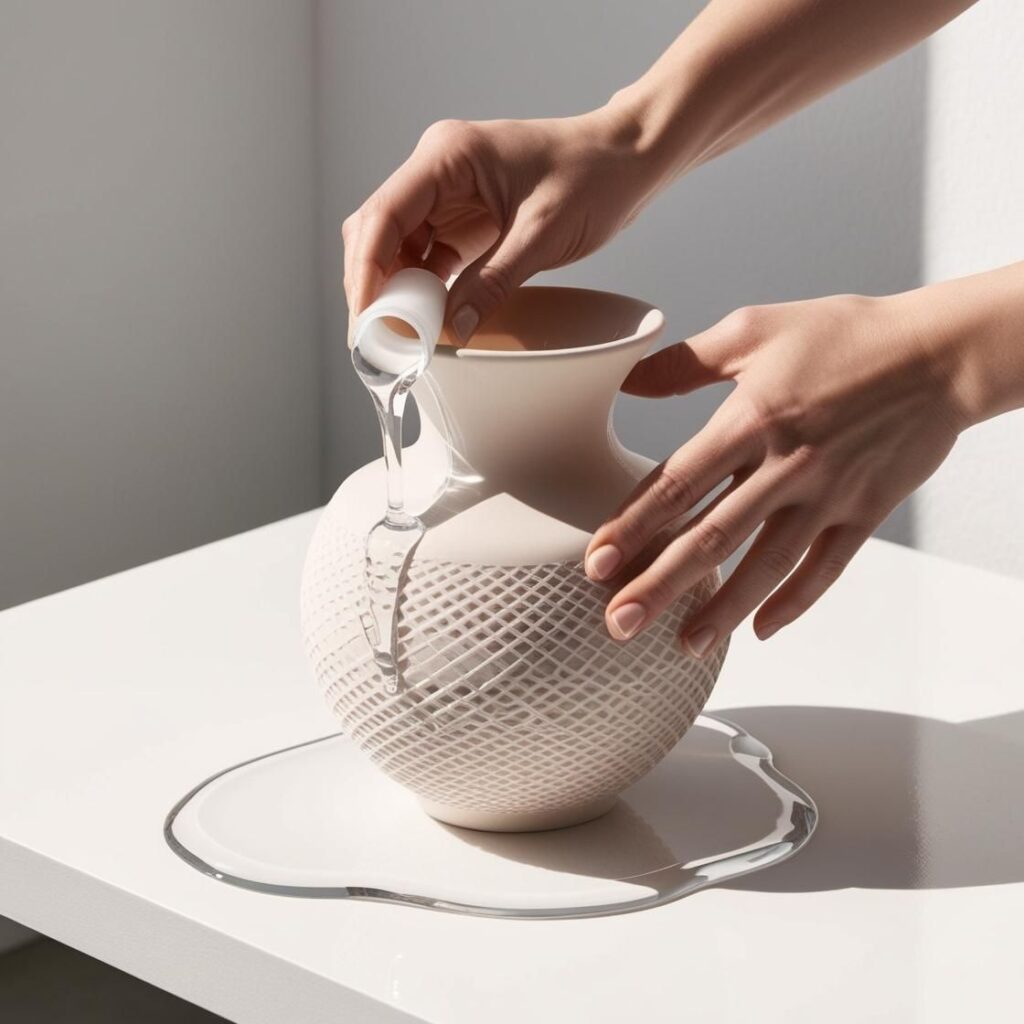
For a more permanent waterproofing solution, epoxy resin is a great option. It creates a strong, transparent layer over the vase, making it watertight and very durable.
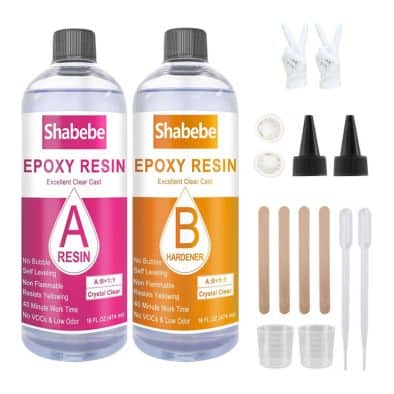
Materials Needed: Epoxy resin, gloves, a disposable brush or applicator, and a well-ventilated area.
How to Apply:
- Prepare the Epoxy Resin: Follow the manufacturer’s instructions to mix the resin and hardener. Be precise, as proper mixing is essential to create a strong waterproof layer.
- Coat the Inside of the Vase: Using your brush or applicator, apply a thin, even layer of epoxy resin inside the vase. You can coat the outside too if you want a glossy finish.
- Allow to Cure: Let the resin cure completely, usually 24-48 hours. You may want to repeat the process for an even thicker layer.
Pros and Cons:
Epoxy resin is incredibly durable and gives a smooth, professional finish. However, it requires careful handling and good ventilation since the fumes can be strong.
Method 3: Acetone Smoothing for ABS Prints
If your vase is printed with ABS, you can use acetone vapor to smooth out the outer surface, effectively sealing any gaps in the print layers.
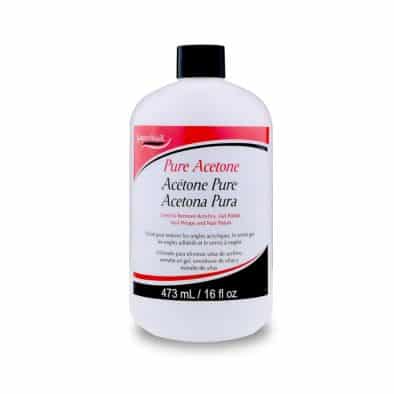
Materials Needed: Acetone, a metal or glass container, and a way to elevate the vase within the container.
How to Apply:
- Set Up an Acetone Vapor Bath: Place a small amount of acetone in the bottom of a container. Then, position your vase above it, making sure it’s not in direct contact with the liquid.
- Let the Vapor Smooth the Vase: The acetone vapor will gradually soften the outer layers, sealing gaps as it smooths. This can take 10-30 minutes, depending on how glossy you want it.
- Allow to Dry: Remove the vase and let it dry and harden for several hours.
Pros and Cons:
This method gives ABS prints a glassy finish and smooths out imperfections, but acetone is a powerful chemical that must be handled carefully.
Method 4: Adding a Watertight Inner Liner
If you’re looking for a simple, non-permanent solution, consider placing a small glass or plastic liner inside your vase.
Materials Needed: A liner that fits snugly inside your 3D printed vase, like a small glass or plastic container.
How to Apply:
- Measure the Vase: Ensure your liner is just slightly smaller than the vase’s inner diameter.
- Insert the Liner: Simply place the liner inside the vase. This will hold water securely without affecting the appearance.
Pros and Cons:
This method is quick and reversible but might not provide the same natural feel as other methods. However, it’s a solid solution if you want to switch between decorative and functional use.
Best Practices for Waterproofing 3D Printed Vases
Regardless of the method you choose, here are some best practices to get the most out of your waterproofed vase:
- Apply Multiple Coats: For sealants and epoxy, adding two to three layers can strengthen the waterproof barrier.
- Allow Ample Drying Time: Each layer should dry completely before you add another, especially with resins.
- Test for Leaks: After you finish, fill the vase with water and let it sit for a few hours to make sure there are no leaks.
Maintenance Tips for Your Waterproofed Vase
After all your hard work, keep your waterproofed vase in great shape by following these tips:
- Check for Wear and Tear: Over time, the waterproof layer may start to degrade, so give your vase a quick inspection every now and then.
- Reapply as Needed: For spray sealants, a quick reapplication every few months can help maintain its watertight quality.
- Avoid Excessive Sunlight: UV exposure can weaken some sealants and resins over time, so keep your vase out of direct sunlight for longevity.
Conclusion
Waterproofing your 3D printed vases isn’t just practical—it can also be a fun part of the creative process! With the right method and a little patience, you can transform your beautiful 3D printed designs into functional decor that’s as durable as it is unique. I hope you found this guide helpful. Don’t hesitate to experiment with different techniques and see which works best for you. Let me know if you have any waterproofing tricks or favorite products—I’d love to hear about your experiences!
Frequently Asked Questions (FAQs)
u003cstrongu003eCan PLA Be Waterproofed Effectively?u003c/strongu003e
Yes, with methods like epoxy resin or waterproof sprays, PLA vases can hold water without issues.
u003cstrongu003eHow Long Will a Waterproofed 3D Printed Vase Last?u003c/strongu003e
It depends on the method. Epoxy resin can last years, while spray-on sealants may need to be refreshed periodically.
u003cstrongu003eIs Epoxy Resin Safe to Use Inside Vases for Fresh Flowers?u003c/strongu003e
Yes, cured epoxy resin is safe for fresh flowers, though be cautious with any uncured residue.
u003cstrongu003eWhat’s the Easiest Waterproofing Method?u003c/strongu003e
Using a plastic or glass liner is the easiest and quickest, though epoxy resin offers a more professional, long-term solution.
This guide aims to give you everything you need to create waterproof, long-lasting 3D printed vases. Now you’re ready to turn your prints into practical, leak-proof decor! Happy printing!
Related posts:
 DIY 3D Printed Decor: An Inspiring Beginner’s Guide
  Customization at its Best: Designing Your Own 3D Printed Decor
  99% of People Think What Glue to Use for 3D Prints: The Ultimate Guide
  5 Best 3D Printer Upgrades for Beginners: Auto-Leveling, Dual Extruders & More
  10 Top Cool Useful Amazon Gadgets for 3D Printing Workspaces
  Best 10 Post-Processing Tools for Polishing 3D-Printed Decor in 2025 – Shine Up Your Prints Now!
  3D Printed Soundproof Wall Panels: Silence Your Space in Style
  Best Linux Distro for 3D Printing: Print Like a Pro in 2025
  Comgrow SH02 Filament Dryer Box Review: Does it Really Work?
  Creality CFS Multicolor Filament System Review: Worth $319 in 2025?
  Best Silk PLA Filaments for Cosplay and Decorative 3D Printing
  46 Best Christmas Gifts 2025 For Everyone That’ll Make You Their Favorite Person in 2025