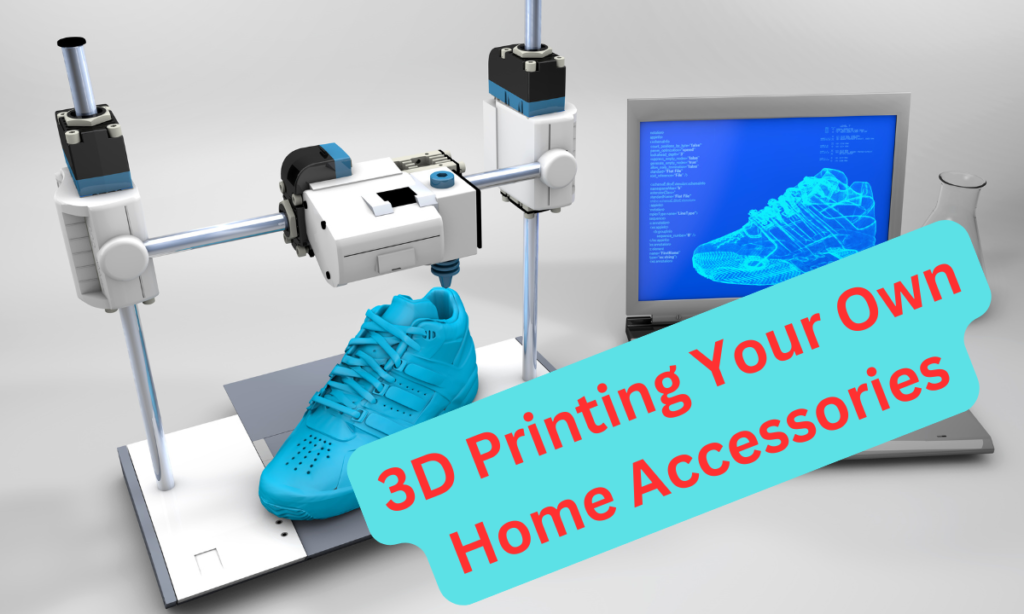
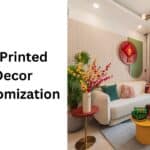
3D printing has revolutionized the way we create objects, offering endless possibilities for customization and personalization. One exciting application is in the realm of home decor. With a 3D printer, you can transform your living space into a unique reflection of your style. Let’s dive into the world of 3D printed decor and create your own stunning home accessories. For more inspiration, check out our guide on 3D printed home decor ideas to spark your creativity.
Steps to 3D Print Your Own Home Accessories
1. Understanding 3D Printing
Affiliate Disclosure
We participate in Amazon affiliate programs, earning fees from qualifying purchases via links at no extra cost to you. It’s how we keep this blog rolling and my 3D printers buzzing with fresh filament for reviews like this one!
Before diving into the creative process, it’s essential to grasp the basics of 3D printing. A 3D printer builds objects layer by layer using materials like plastic, resin, or metal. The process begins with a digital 3D model, which is sliced into thin layers by slicing software. The printer then follows these instructions to create a physical object. With 3D printing, you can produce a wide range of home accessories, from functional items like vases and planters to decorative pieces like wall art and sculptures. Learn more about key terms in our 3D printer terminologies guide.
2. Choosing the Right 3D Printer
The first step in your 3D printing journey is selecting the right printer for your needs. If you’re new to 3D printing, consider starting with a user-friendly desktop printer, such as the Creality Ender 3 or Prusa i3 MK3S+. These printers are known for their ease of use, affordability, and compatibility with various materials. Resin printers like the Anycubic Photon Mono X are ideal for producing highly detailed and smooth surfaces, making them perfect for intricate decor pieces. For a detailed comparison, see our guide on resin vs. filament 3D printing.
3. Selecting Materials
The choice of material is crucial for both the appearance and functionality of your 3D-printed decor. Common materials include:
- PLA (Polylactic Acid): PLA is a biodegradable, eco-friendly plastic that is easy to print and available in a variety of colors. It’s great for decorative items like planters, picture frames, and figurines. Learn more in our PLA vs. ABS vs. PETG comparison.
- ABS (Acrylonitrile Butadiene Styrene): ABS is a more durable plastic, ideal for functional items like hooks, coasters, and storage containers. However, it requires a heated bed and better ventilation during printing.
- PETG (Polyethylene Terephthalate Glycol): PETG combines the ease of printing of PLA with the durability of ABS. It’s a versatile material suitable for both decorative and functional accessories.
- Resin: Resin is used in SLA (Stereolithography) printers to produce highly detailed objects with smooth finishes. It’s ideal for jewelry, small sculptures, and intricate decor elements. For resin-specific tips, check out our resin printer maintenance guide.
4. Designing Your Accessory
Designing your own 3D model can be one of the most rewarding aspects of 3D printing. If you’re familiar with CAD (Computer-Aided Design) software like Tinkercad, Fusion 360, or Blender, you can create your designs from scratch. For beginners, Tinkercad is an excellent, user-friendly option that allows you to create basic shapes and designs with ease. For more on designing, read our article on designing your own 3D printed decor.
Alternatively, you can download pre-existing designs from online repositories like Thingiverse, MyMiniFactory, or Cults3D. These platforms offer a vast selection of free and paid designs, ranging from simple geometric shapes to complex art pieces. Discover more platforms in our best 3D printing sites for 2025.
5. Preparing the Model for Printing
Once you have your 3D model ready, the next step is to prepare it for printing. This involves using slicing software like Cura or PrusaSlicer, which converts your 3D model into instructions that your printer can understand. During this process, you’ll need to:
- Set the Layer Height: This determines the quality of your print. Lower layer heights (e.g., 0.1mm) produce finer details but take longer to print, while higher layer heights (e.g., 0.3mm) print faster but with less detail.
- Adjust the Infill Percentage: Infill refers to the density of the inside of your print. For decorative items, a lower infill (10-20%) is usually sufficient, while functional items may require higher infill (50-100%) for added strength.
- Add Supports if Necessary: Some designs may require supports to prevent overhangs from collapsing during printing. These supports can be removed after the print is complete.
For the best slicing software options, explore our best slicing software for 3D printing.
6. Printing Your Accessory
With your model sliced and your printer set up, it’s time to start printing. This stage requires patience, as even small objects can take several hours to print. Make sure to monitor the print process, especially in the beginning, to ensure everything is running smoothly. If you’re using a filament-based printer, check that the filament is feeding correctly and that the first layer adheres properly to the print bed. For troubleshooting, see our guide on fixing first layer adhesion problems.
7. Post-Processing
Once your print is complete, it’s time for post-processing. This step can involve:
- Removing Supports: Carefully remove any supports using pliers or a craft knife. Be gentle to avoid damaging the print.
- Sanding and Smoothing: For a polished finish, you can sand your print with fine-grit sandpaper. Resin prints may require additional curing under UV light.
- Painting and Finishing: If desired, you can paint your 3D print using acrylic paints or spray paints. Adding a clear coat can also enhance the durability and appearance of your decor piece.
For more post-processing tips, check out our top 10 post-processing tools for 3D printed decor.
8. Incorporating Your Creation into Your Home Decor
Now that your 3D-printed accessory is complete, it’s time to find the perfect spot for it in your home. Whether it’s a chic vase on your coffee table, a custom wall art piece, or a functional storage solution, your new accessory will add a unique, personalized touch to your space. You can also experiment with different materials, colors, and finishes to match your decor style, whether it’s modern, rustic, or eclectic. For specific projects, try our 3D printed vases guide or custom 3D printed kitchen organizers.
Conclusion
3D printing offers endless possibilities for DIY home decor enthusiasts. By following these steps, you can create custom, high-quality accessories that reflect your style and creativity. With a bit of practice and experimentation, you’ll be able to bring your design ideas to life, transforming your living space into a truly personalized haven. So, why not give it a try? Your next favorite decor piece could be just a print away. For more advanced techniques, explore our ultimate guide to advanced 3D printing filaments.
Related posts:
 Customization at its Best: Designing Your Own 3D Printed Decor
  Can 3D Printed Vases Truly Hold Water?
  Can 3D Printed Wall Hooks Hold Heavy Items?
 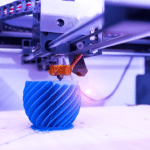 DIY 3D Printed Decor: An Inspiring Beginner’s Guide
 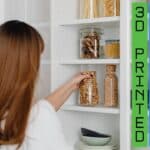 Custom 3D-Printed Kitchen Organizers for Ultimate Efficiency!
  Elegoo Centauri Carbon: The Best High-Speed CoreXY 3D Printer You Need Now!
  Creality Hi Combo 3D Printer: Multi-Color Magic You’ll Wish You Had Sooner!
  10 Useful Ideas to 3D Print in April 2025 – Start Printing Now!
  Original Prusa MK4S 3D Printer Review: Your 2025 Guide to DIY Decor Bliss
  Creality K1 SE vs ELEGOO Neptune 4 Pro: Which 3D Printer Should You Choose in 2025?
  Bambu Lab A1 Mini vs FLASHFORGE Adventurer 5M for Stunning Home Decor in 2025
  Bambu Lab A1 Mini vs Creality Ender 3 V3 SE: Which Should You Pick?