Fix mirrored 3D prints by rotating motor cables, switching axes, or updating firmware—troubleshooting takes patience but restores perfect prints fast.
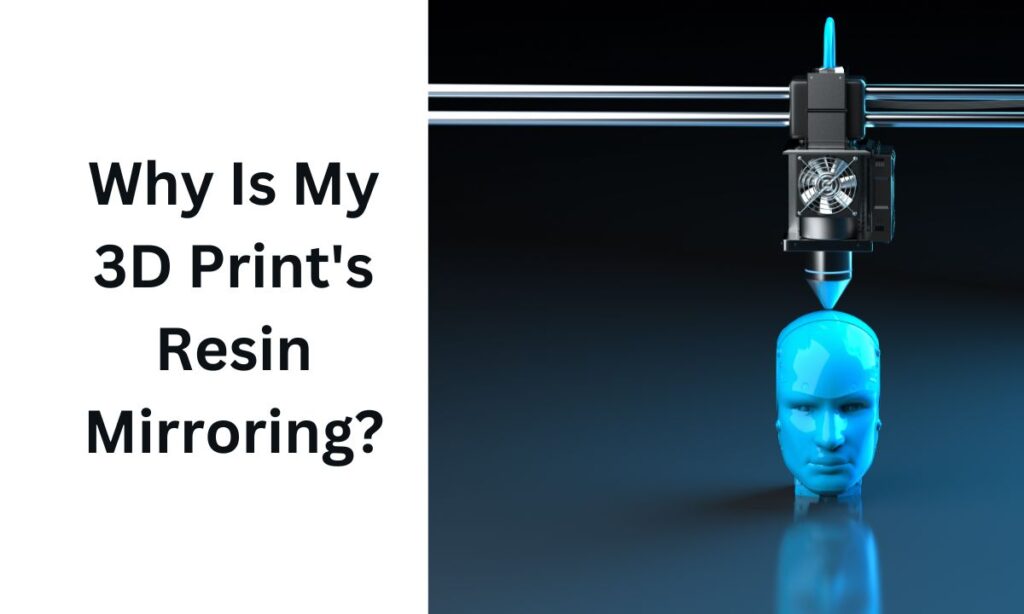
Why Is My 3D Print’s Resin Mirroring or Prints Coming Out Reversed?
Affiliate Disclosure
We participate in Amazon affiliate programs, earning fees from qualifying purchases via links at no extra cost to you. It’s how we keep this blog rolling and my 3D printers buzzing with fresh filament for reviews like this one!
Having issues with 3D printing where your prints look mirrored or don’t match the source file? Maybe objects that should be on the left are on the right, or parts that should be on top are suddenly on the bottom.
This guide will help you fix these issues step by step. There are three main ways to solve this problem. While tweaking settings in your slicing software may seem like the easiest fix, it’s not the most reliable solution. Adjusting only the slicer settings can lead to recurring issues with other software or when using different files.
Let’s explore the best ways to resolve these challenges effectively.
Why Is My 3D Print’s Resin Mirroring or Prints Coming Out Reversed?
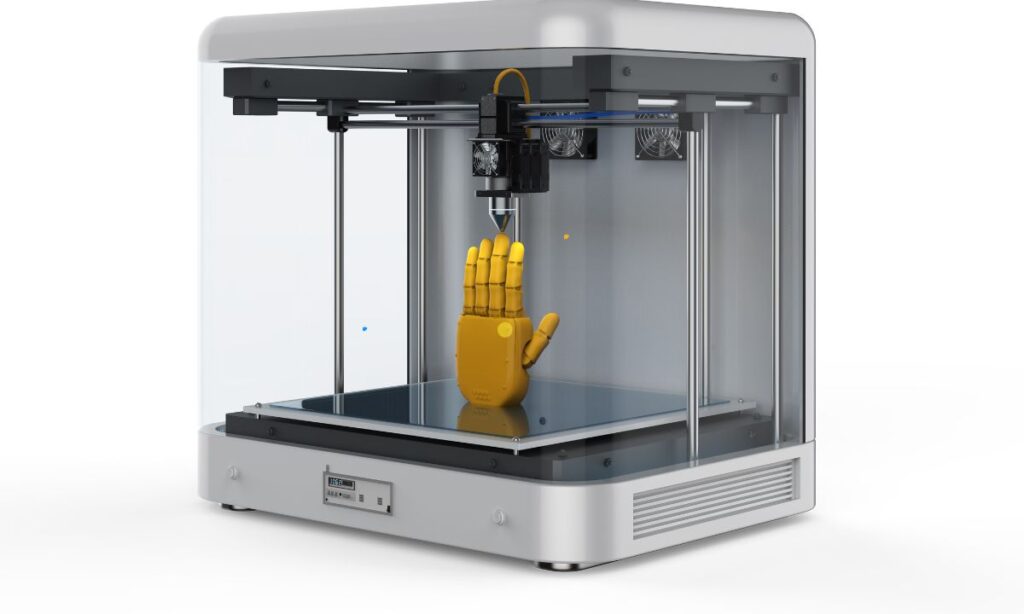
3D printers rely on precise motor movements and accurate axis alignment to create your designs. When these are off, prints may come out flipped, mirrored, or reversed. The primary causes are: incorrect axis motor connections, misaligned motor or endstop cables, and incorrect firmware configuration. By identifying the root cause, you can ensure your printer performs correctly every time, regardless of the slicer or G-code used.
How to Diagnose the Issue of 3D Print’s Resin Mirroring or Prints Coming Out Reversed?
Step 1: Print a Test Object
To identify which axis is incorrectly aligned, print a model with distinct features, like a cube or any object that has identifiable sides (left, right, top, and bottom). Compare the printed result to the design in your slicing software to pinpoint the problem axis.
Step 2: Identify the Problematic Axis
Determine if the issue lies with the X, Y, or Z axis. Once you know which axis is wrong, proceed to the solutions below.
Three Solutions to Fix Mirrored or Reversed Prints
Solution 1: Rotate Motor Cables
One way to correct the issue is by reversing the motor direction for the problematic axis. You can do this by rotating the motor cables.
How It Works: Reversing the motor cables changes the direction the motor spins, fixing the axis alignment.
Why It’s Effective: This solution works at the hardware level, meaning it will fix the issue regardless of the slicer or firmware.
Challenges: Some printer motor cables have clips that only allow them to connect in one orientation. If this is the case, you could cut, re-solder, and reverse the connector—but proceed cautiously if you’re not experienced with electrical modifications. If this solution isn’t feasible, move on to Solution 2.
Solution 2: Switch X and Y Axes
If the X and Y axes are reversed, this simple hardware fix might resolve the issue.
How It Works: Check if the X-axis motor and limit switch are plugged into the Y-axis on the motherboard (and vice versa). If so, swap them.
Why It’s Effective: Correcting the connections ensures the printer interprets motor movements and limits properly. This solution is often the easiest and fastest fix. However, if this doesn’t work or isn’t an option, proceed to Solution 3.
Solution 3: Update Firmware Settings
If the first two solutions don’t work or aren’t applicable, updating your printer’s firmware is a robust alternative.
Steps to Fix Using Firmware
Access the Firmware Source Code: Ensure you have the Marlin firmware source code for your printer and the Arduino IDE installed. Open the firmware’s .ino file in the Arduino IDE. The .ino file is simply a text file. It can be viewed with any text editor.
Download and install Arduino IDE from the official "Software" page:
http://www.arduino.cc/en/Main/Software
Start Arduino IDE.
Select File > Open from the Arduino IDE menus.
Select the .ino file you want to open.
Click the "Open" button.
Modify the Axis Direction Settings: Navigate to the Configuration.h file and locate the following lines:
// Invert the stepper direction.
// Change (or reverse the motor connector) if an axis goes the wrong way.
#define INVERT_X_DIR true
#define INVERT_Y_DIR true
#define INVERT_Z_DIR true
Change the relevant axis direction settings: If it’s true, switch it to false. If it’s false, switch it to true.
For example, if the X-axis is reversed, change it to:
define INVERT_X_DIR false
#define INVERT_Y_DIR true
#define INVERT_Z_DIR true
Adjust Endstop Direction (If Necessary): If limit switches behave incorrectly after making these changes, modify the endstop homing direction:
// Direction of endstops when homing; 1=MAX, -1=MIN
#define X_HOME_DIR 1
#define Y_HOME_DIR -1
#define Z_HOME_DIR -1
Adjust the problematic axis (e.g., change -1 to 1 or vice versa).
Upload the Updated Firmware: Compile the modified firmware and upload it to your printer using the Arduino IDE.
Practical Tips for Long-Term Success

Test thoroughly. After implementing any solution, print a test object to ensure the issue is resolved. Document your changes. Keep a record of firmware adjustments or cable modifications for future reference. Maintain your printer. Regular maintenance, like tightening cables and checking connections, can prevent similar issues.
Frequently Asked Questions (FAQs)
Why are my prints mirrored or reversed?
This usually happens because of incorrect motor direction, swapped axis connections, or misconfigured firmware.
Is changing the firmware risky?
Not if done carefully. Always back up the original firmware and follow guides step by step.
Can I fix this without soldering?
Yes, solutions like switching motor connections or updating firmware don’t require soldering skills.
How do I know which axis is reversed?
Print a test object and compare it to the slicing software preview. Look for discrepancies in orientation.
Will this issue damage my printer?
No, but it can waste resin, time, and effort. Fixing it ensures accurate and efficient printing.
Conclusion
3D printing issues like mirrored or reversed prints can be frustrating, but they’re solvable with the right approach. By diagnosing the problem and applying one of the three solutions—rotating motor cables, switching axes, or updating firmware—you can correct the problem at its source. Remember, troubleshooting is part of the learning process. With patience and care, your printer will be back to producing flawless prints in no time!
Related posts:
 5 Hidden Reasons Your Resin 3D Prints Are Failing – and How to Fix Them
  3D Printing Tips: The Ultimate Janky Yet Effective Beginner’s Guide
  Resin vs FDM 3D Printing: Discover the Best Choice for You
  PLA vs ABS vs PETG: Choosing the Right Filament for Your 3D Prints
  How Far Should a 3D Printer Nozzle Be from the Bed?
  Want To Know How Hot Can a 3D Printer Get?
  Unbeatable Black Friday Deals on the Best 3D Printers of 2024
  Revolutionary 14K Resin Printer: Why the Anycubic Photon Mono M7 Pro is a Must-Have in 2025!
  10 Useful Ideas to 3D Print in April 2025 – Start Printing Now!
  Best 3D Printable Plant Pots for Small Apartments in 2025
  Bambu Lab A1 Mini vs Creality Ender 3 V3 SE: Which Should You Pick?
  What Are the Key Features to Look for in a 3D Printer in 2025?